Vintage Bathroom Makeover Intro
After three years of my parents living in the Egbert house we, and by we I mean *I* totally surprised them with a facelift on the small pink bathroom in their home. They were out of town on a small weekend away so I thought the window of opportunity was perfect. If I am being totally honest I actually didn’t mind the pink tile, I would go as far to to even say that I liked it but you know, that’s just me. Anyway, this bathroom had become one of those projects that was going to be a down-the-line kind of thing. Definitely not a priority and not a place they wanted to spend a lot of money. While it’s not the main bathroom in the house it still gets a fair amount of use since it is off of the mudroom and kitchen. And despite its small size it is actually considered a full bathroom because it does have a functioning shower.
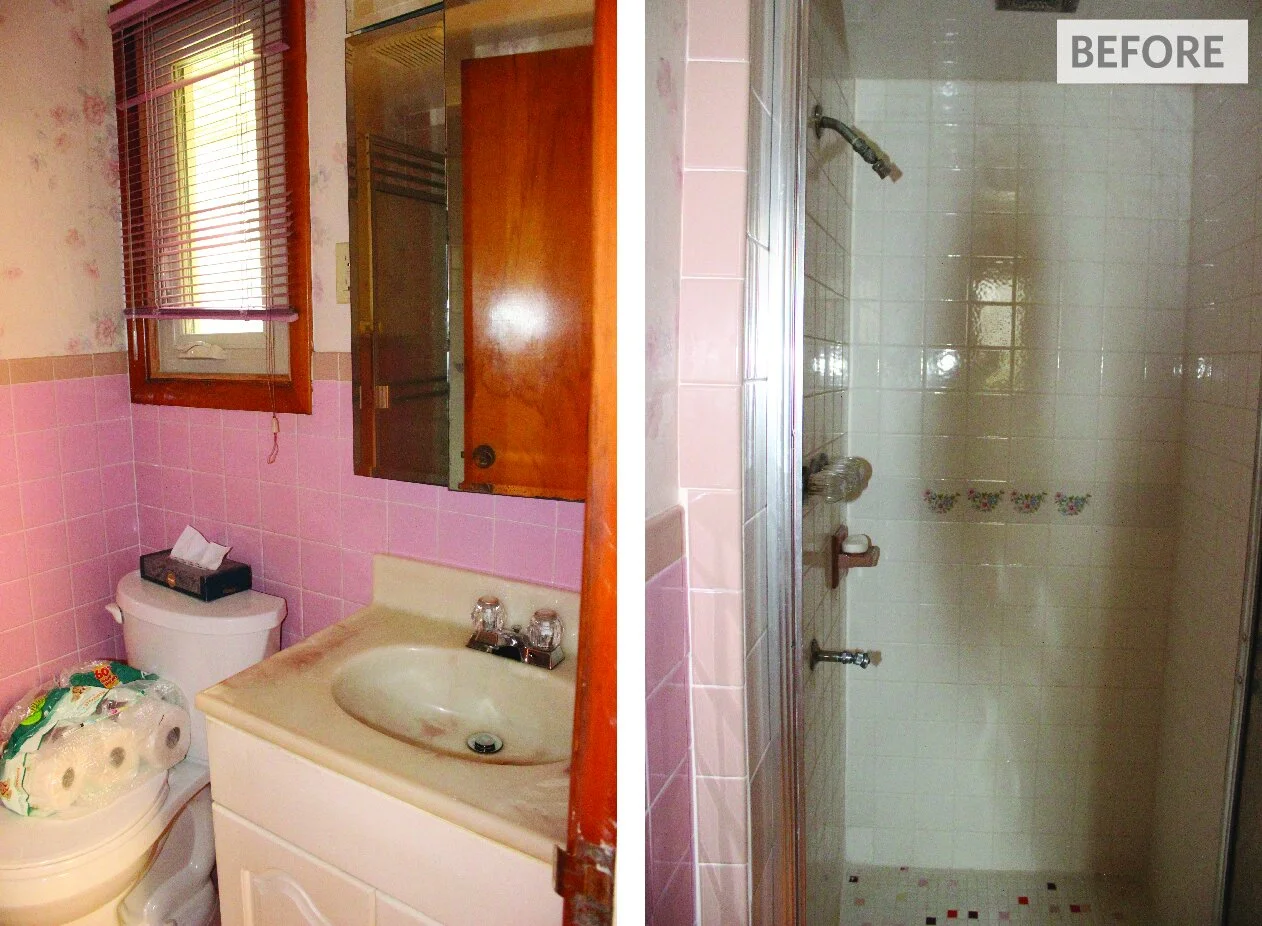
Before I dive too deep in the changes I want to recap a bit on where we started. The photos show the before, right when they bought the house. The poor quality photos are from quick phone grabs and realtor photos as I was not living at home at the time. The tiles are looking a little more bubblegum pink then they are in reality, and is more of a pale pink – which I find rather charming! The rest of the space, however, was not charming. It had a peeling floral wallpaper that even I (and my love for the ‘grandmillenial’ trend) could not justify. Add on the fact that it had a dark orange trim around the window and a crumbling mirror and dated vanity, well it all had to go.


This is the original moodboard for the space that I created for more of the cosmetic changes (RIP Design & Curiosity)
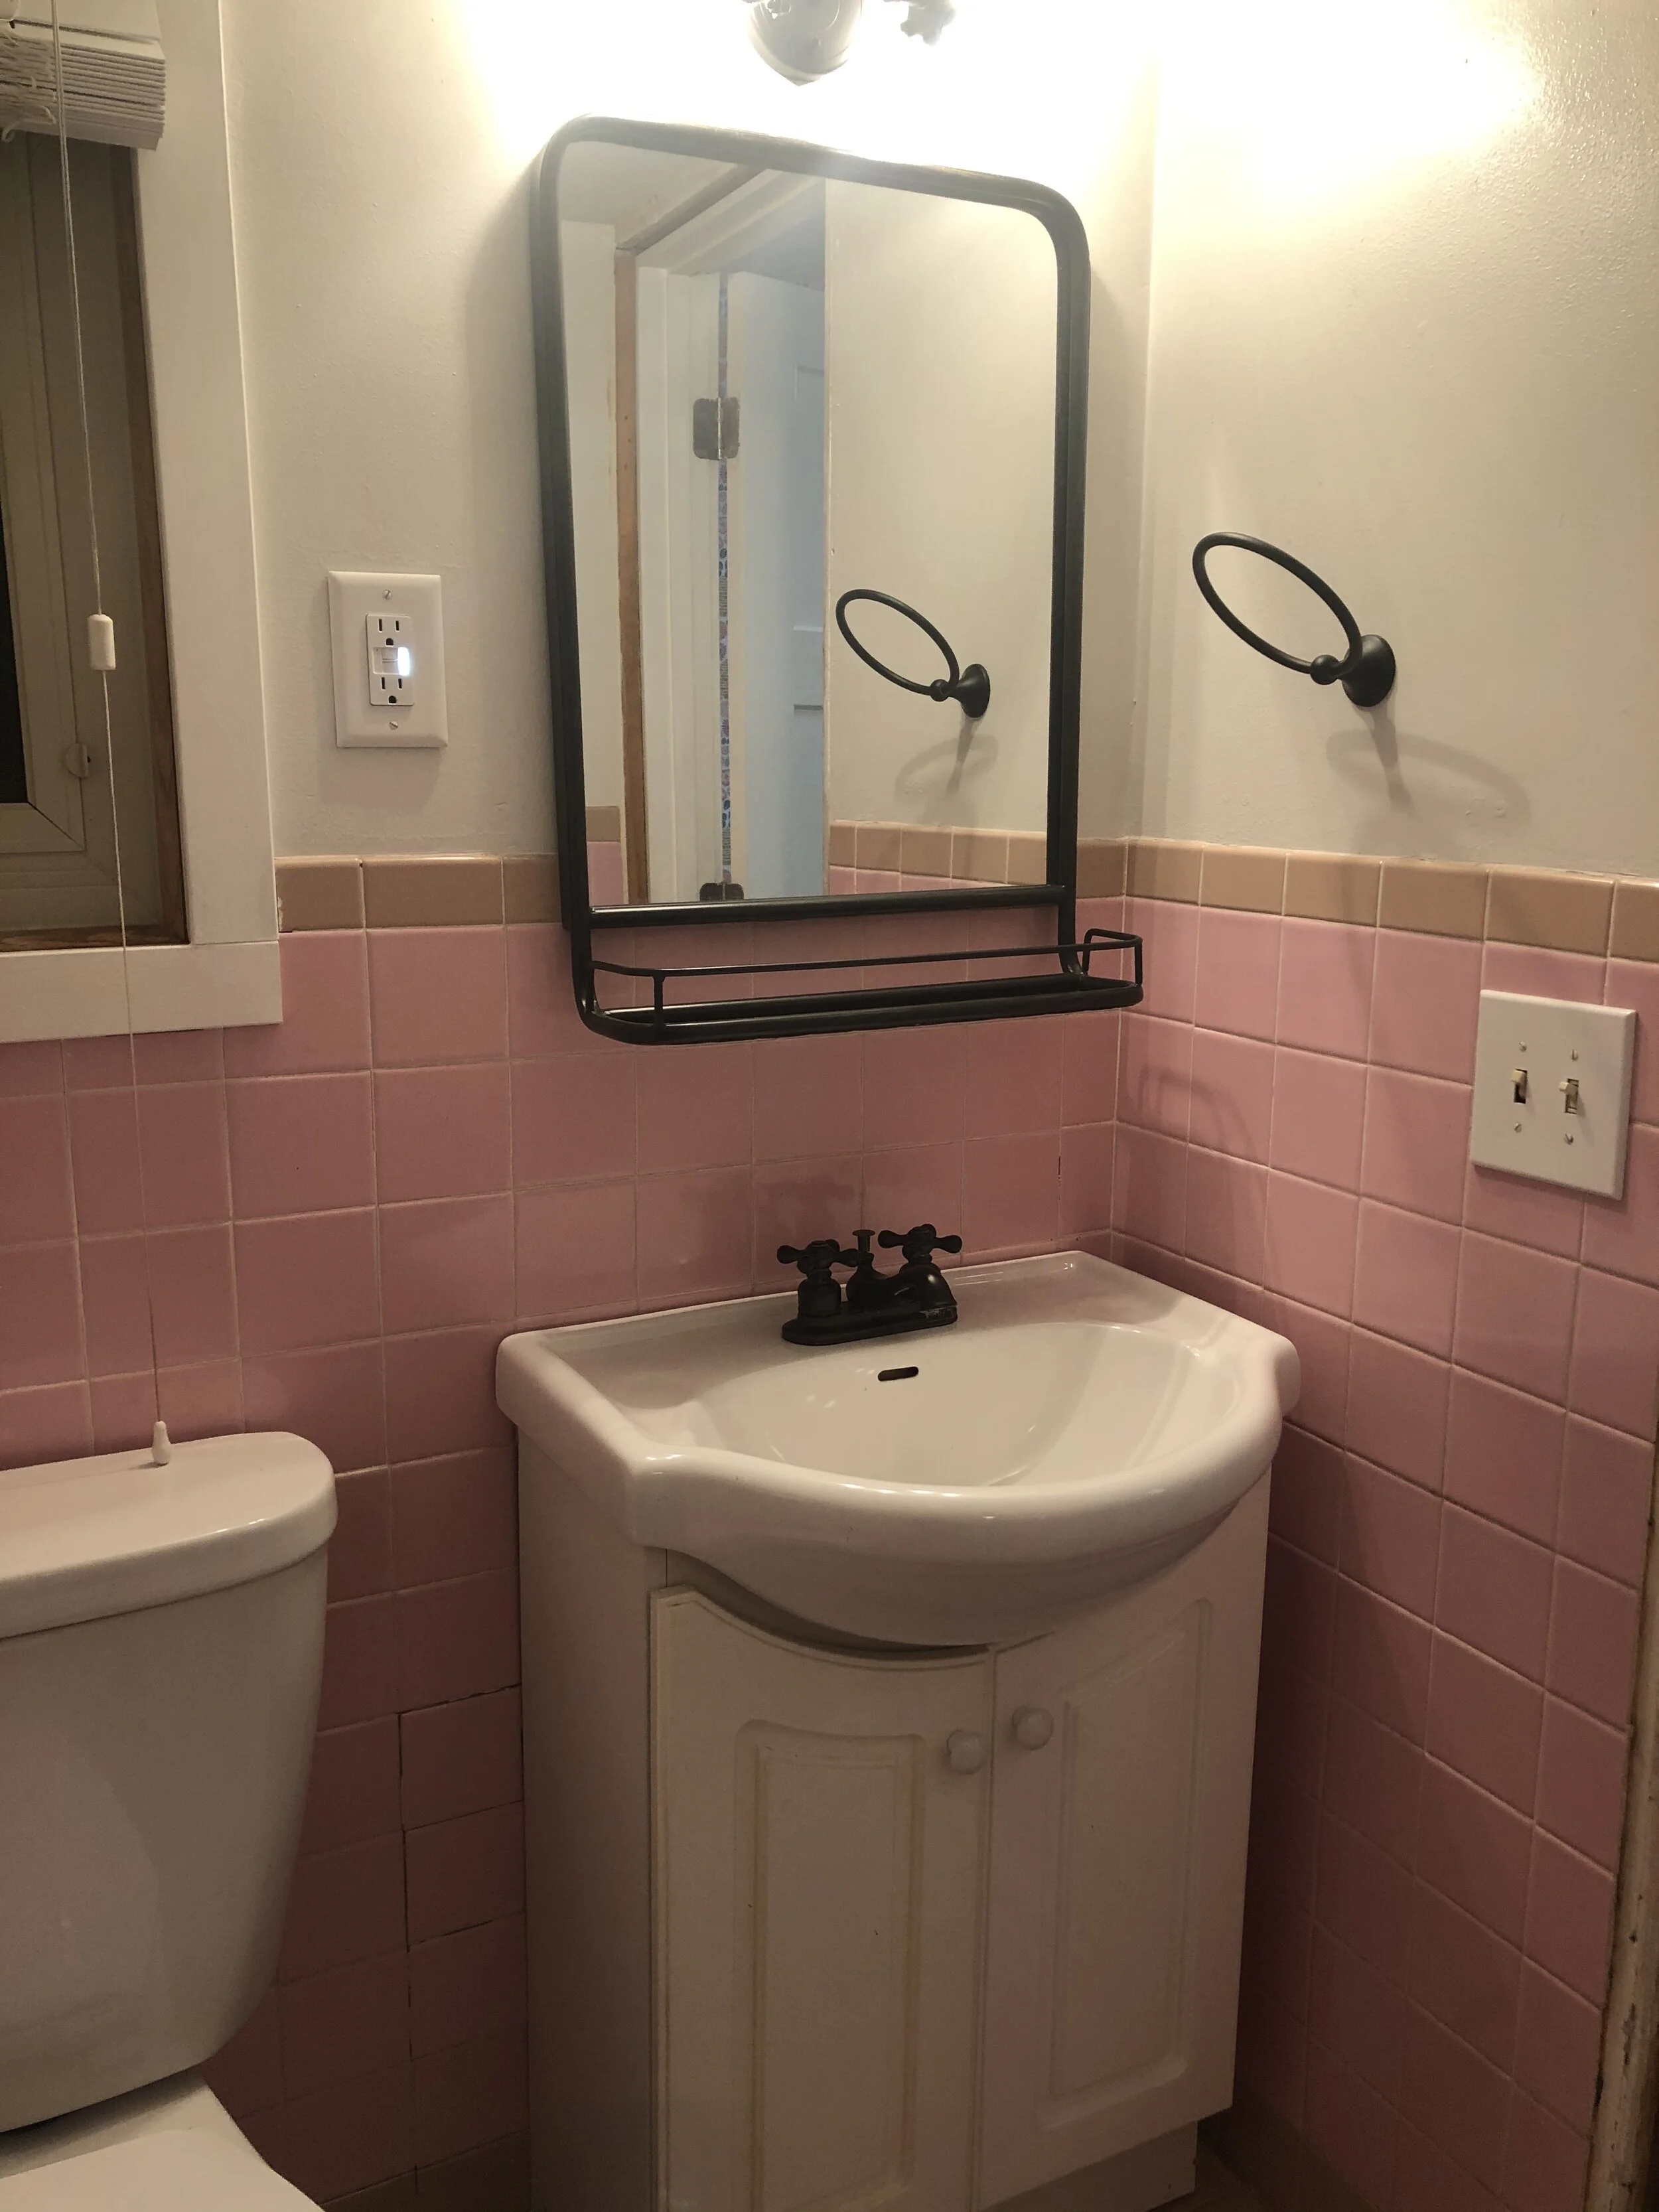
They managed some smaller cosmetic things soon after move in to get it at least tolerable enough to be in. After removing the floral wallpaper the walls were painted an un-tinted bright white and the hardware and accessories were switched out for more modern matte black pieces. The vanity was a leftover vanity from their previous house that was never used and it turned out to be absolutely perfect in both size and style for the space. Like when does that ever happen?!
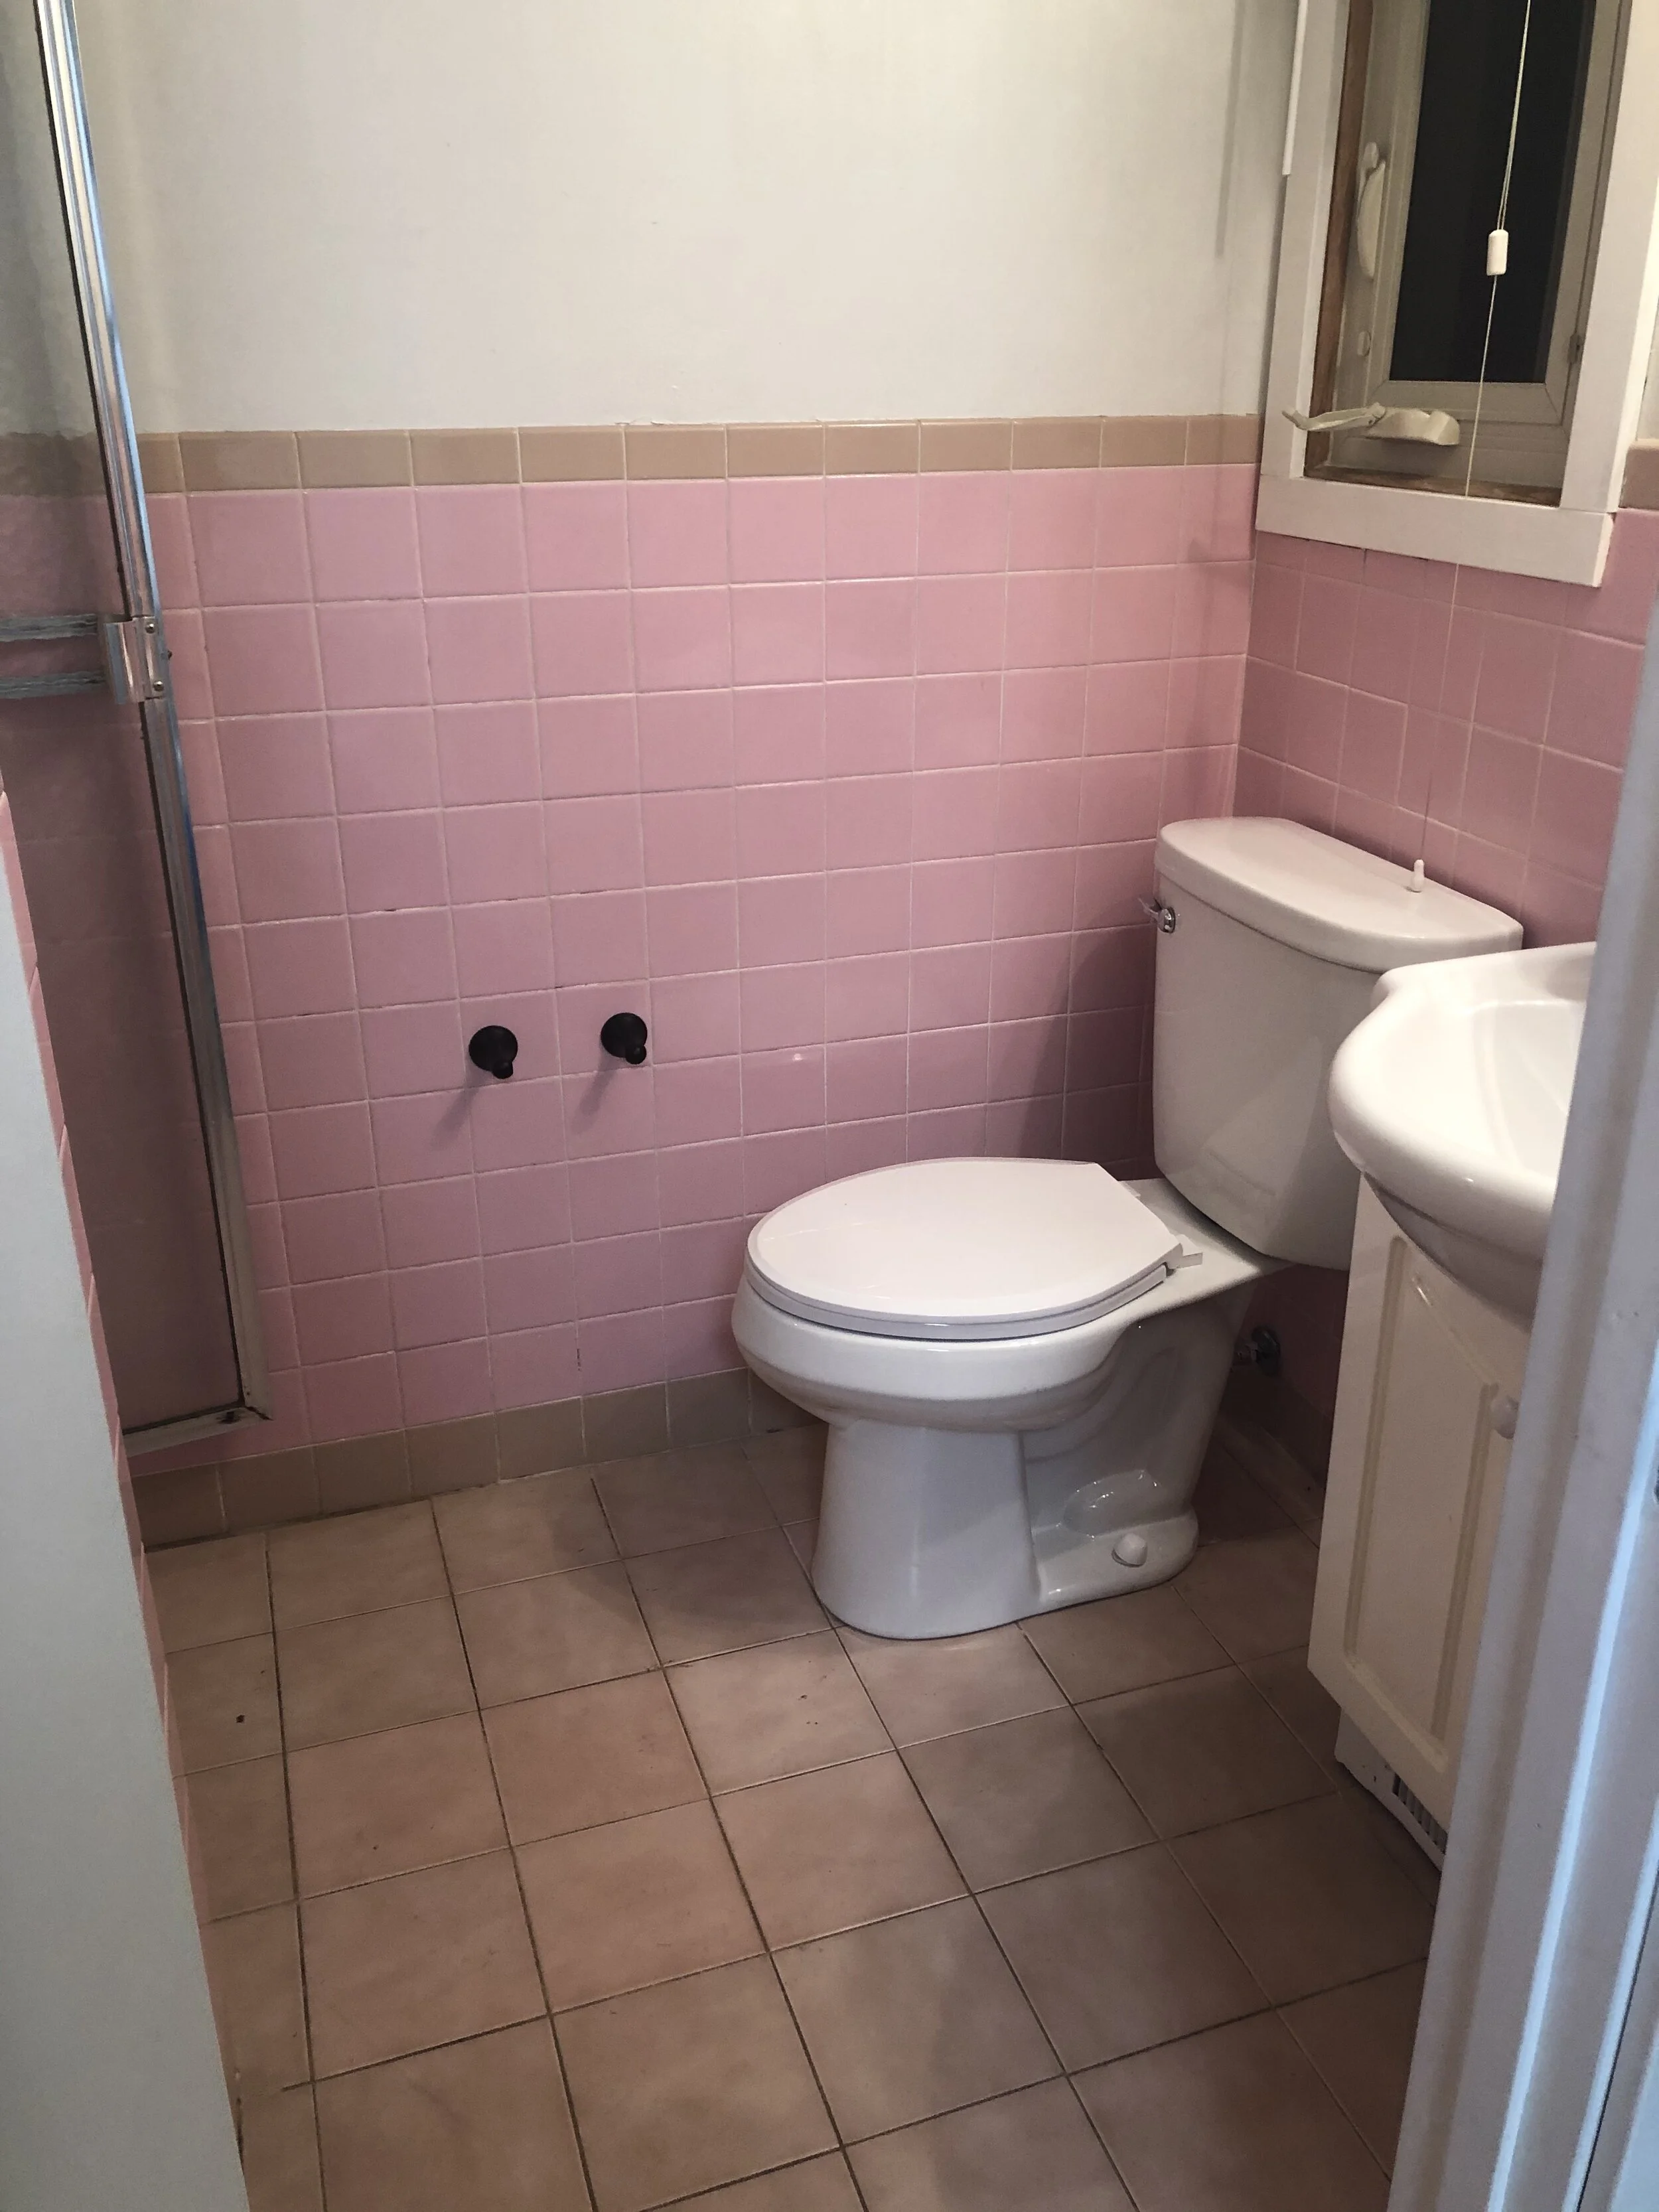
Fast forward to today and here is the bathroom as it stood right before I did the changes. There is updated trim and blinds on the window, the ‘new’ vanity, more modern hardware, fixtures and lighting.
I can’t say what came over me and ultimately inspired me to this project right now. Maybe in this crazy year I wanted to feel like something cute was accomplished. While living at home with my parents these past almost two years has been helpful I also miss doing my own improvement projects. I channeled my big ideas and rush of adrenaline into a design plan. I always love a good surprise too so I knew their weekend away would be the perfect window, (not to mention I didn’t need them hovering over me). They’re pretty great and love nearly everything I suggest and do so I took the bold move and decided to just go for it. Better to ask for forgiveness anyway.

I knew I wanted to go more classic and timeless with a black and white color palette, which is sort of what we were talking about doing in the very beginning. To save money I kept the same black hardware, fixtures, lighting, etc. I had picked them out initially and was still liking them for this space all the years later.
So here’s the basic plan:
Paint the pink wall tile white paint and add a black painted trim along the bottom row of tiles and top (the more peachy rectangular tiles).
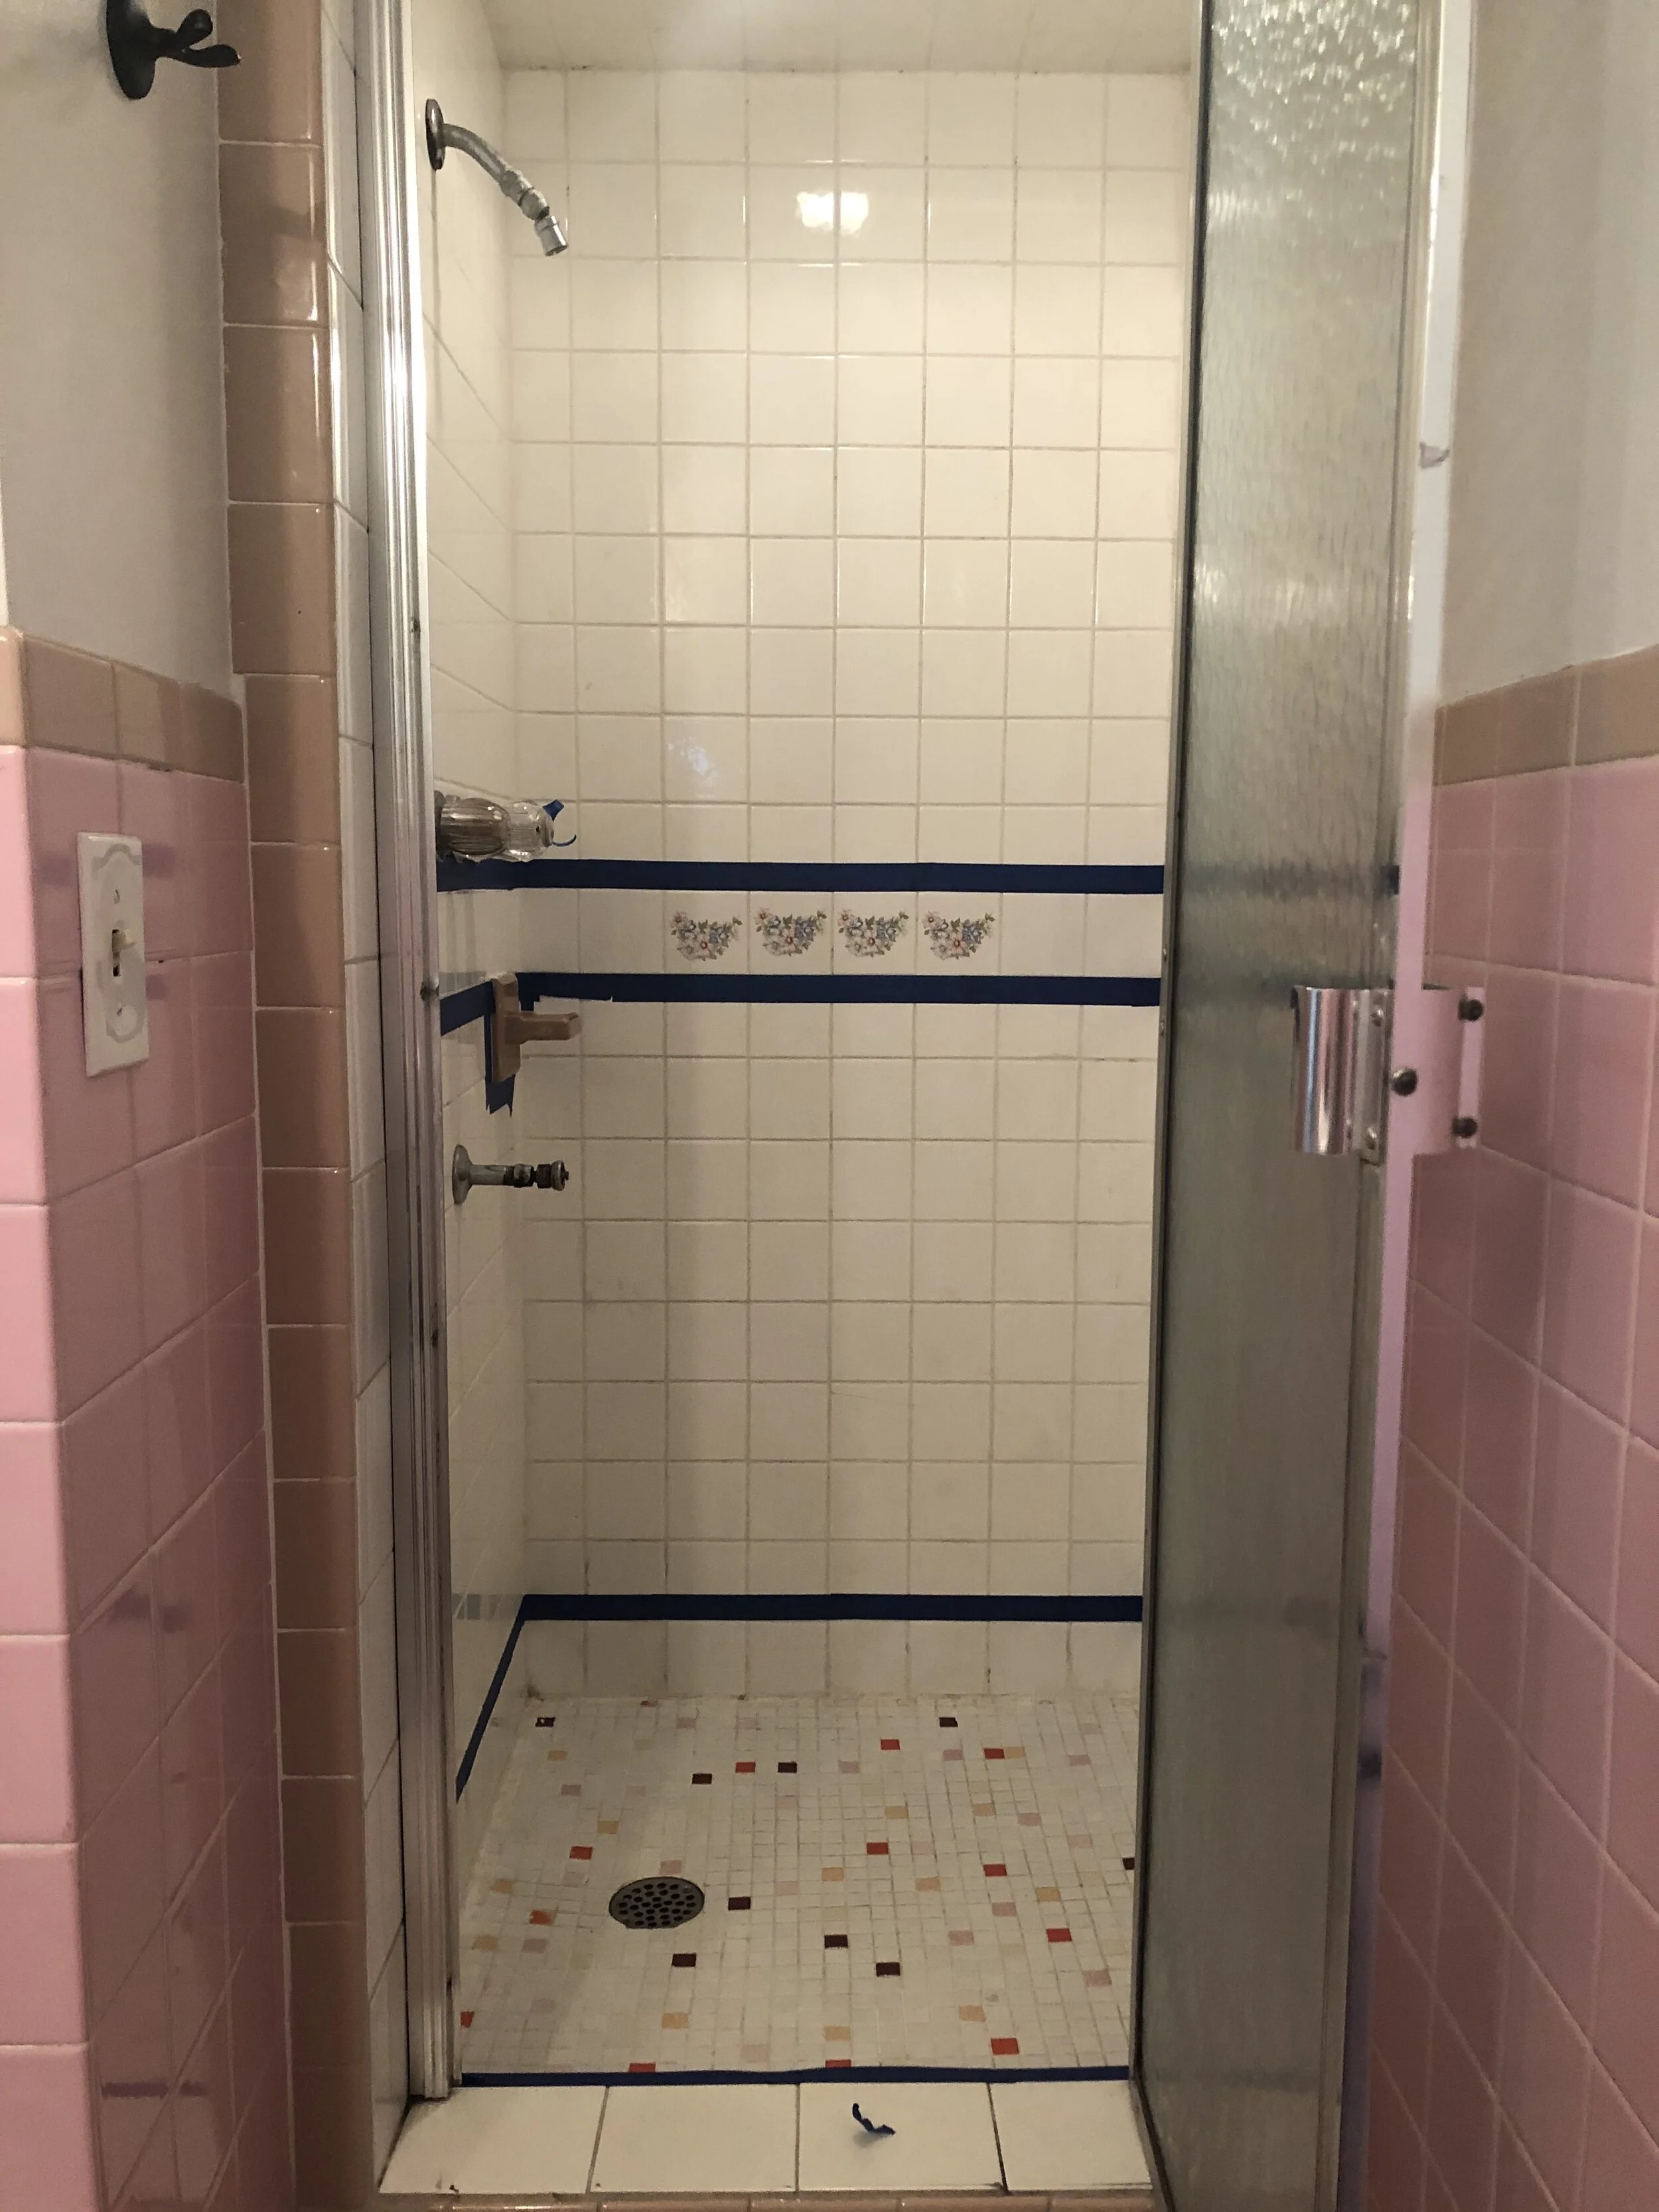
Paint the mosaic floor in the shower white epoxy paint (I used this one) and add a black trim along the bottom and middle (to cover the floral tile) of the wall. Since the tile in the shower was already white I didn’t want to paint over it. Just give it a good scrubbing and only cover what I needed to.
Cover the pink floor tile with vinyl peel-and-stick tile (I used these ones!)
Be sure to check out the next post for the full reveal and process!