Weekend makeover: Refresh your bathroom on a budget!

If there is something I really love it’s a makeover that’s quick, affordable and gives a max amount of impact. I’m pulling this post out of the draft archives to share some quick and easy ways to update your bathroom with an easy face lift. To start, nothing was really wrong with the space but it just felt blah. It was a lot of the same dated fixtures as the master bathroom and an endless view of yellow-y beige. Nothing exciting but teeming with potential.
Because this makeover was super quick (I finished it over two leisurely days) I am going to break it down into tips to help you give your bathroom a little more pep.


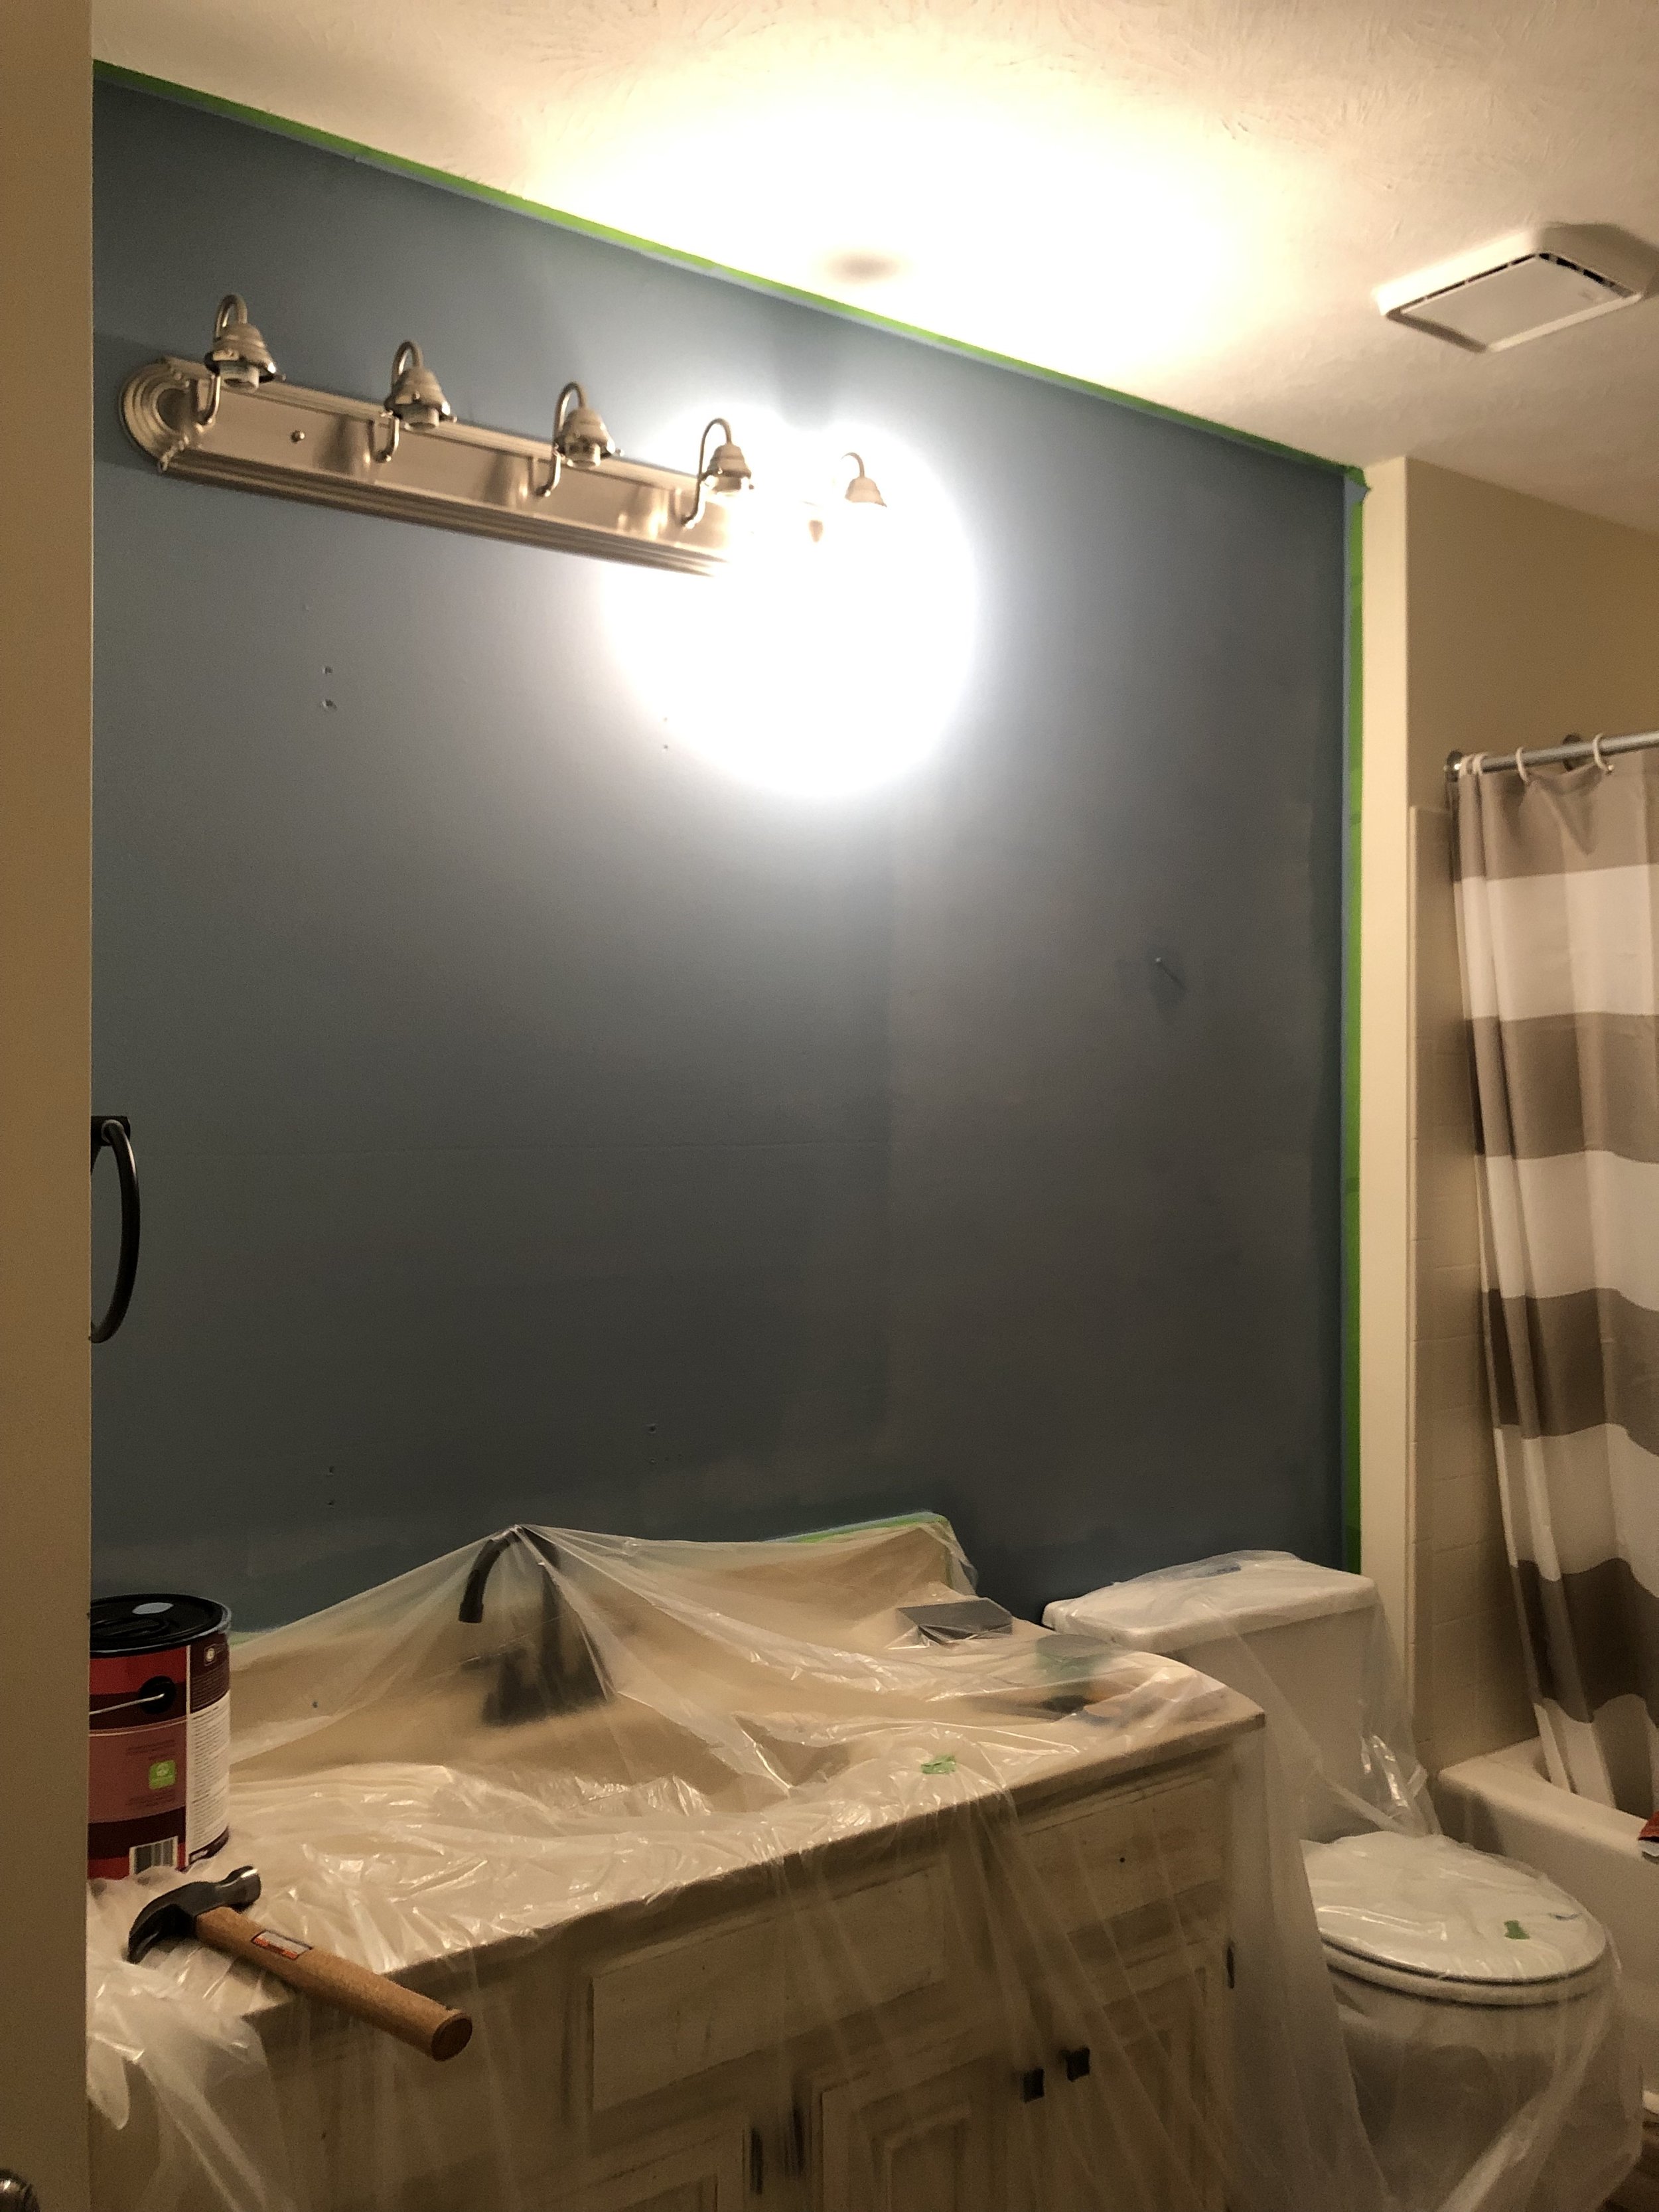
So here is where we started. This secondary bathroom is actually a pretty decent sized full bath with a shower and a nice sized vanity. It doesn’t get any natural light and it’s hard to capture a good angle of it but it’s…fine. Nothing disgusting but definitely could use some touchups. Without going too crazy I focused on some key areas: paint, fixtures, lighting and hardware.

# 1: Find your inspiration
For most renovations I will typically start with a rendering or a detailed plan but since this was always meant to be small I skipped that step but having inspiration or a base point to draw back on is very important in a design. I was very inspired by a vintage paint-by-number painting I had. It was a soothing seascape with touches of blues, tans, blacks and pinks. Since this space had no color to think of, I started here.
# 2: A pop of color goes a long way
In pulling inspiration from the colors in the painting I figured out that I wanted to do an accent wall behind the mirror and painting. I ended up choosing Behr Blueprint - I loved that it was a nice mid-tone blue that was a little less desaturated so it felt like it had some gray in it. I opted for an accent wall versus the whole space for ease and because it didn’t have any natural lighting I didn’t want it to feel too dark. I was really happy with the color!
#3: Switch out your faucets
I cannot express how easy it is to switch out your faucets. There are an endless number of instructional videos on the web that break it down for you and most new faucets come in a kit that give you all the parts you need. I used this one, it feels modern and affordable. Tip: pay attention to whether or not your faucet is a center-set (one piece) or widespread (separate faucet and handles) as this determines what kind of faucet you'll need. I’ve installed both kinds of faucets and both are easy. Our sinks in this case were set up for a center-set faucet so I went with that. It brings SO. MUCH. JOY. to have a new clean faucet to use. It’s affordable and helps elevate the space.
#4: Switch out your hardware
This is one of the easiest things you can do in your bathroom. Switching out the cabinet knobs or towel holders can add a lot of impact and also help make the design feel more cohesive. Since I was switching my faucet to be matte black I had my hardware match it. I used this set for the towel and toilet paper holder and these knobs for the cabinet. I love the contrast against the lighter colors and it helps add a modern touch.

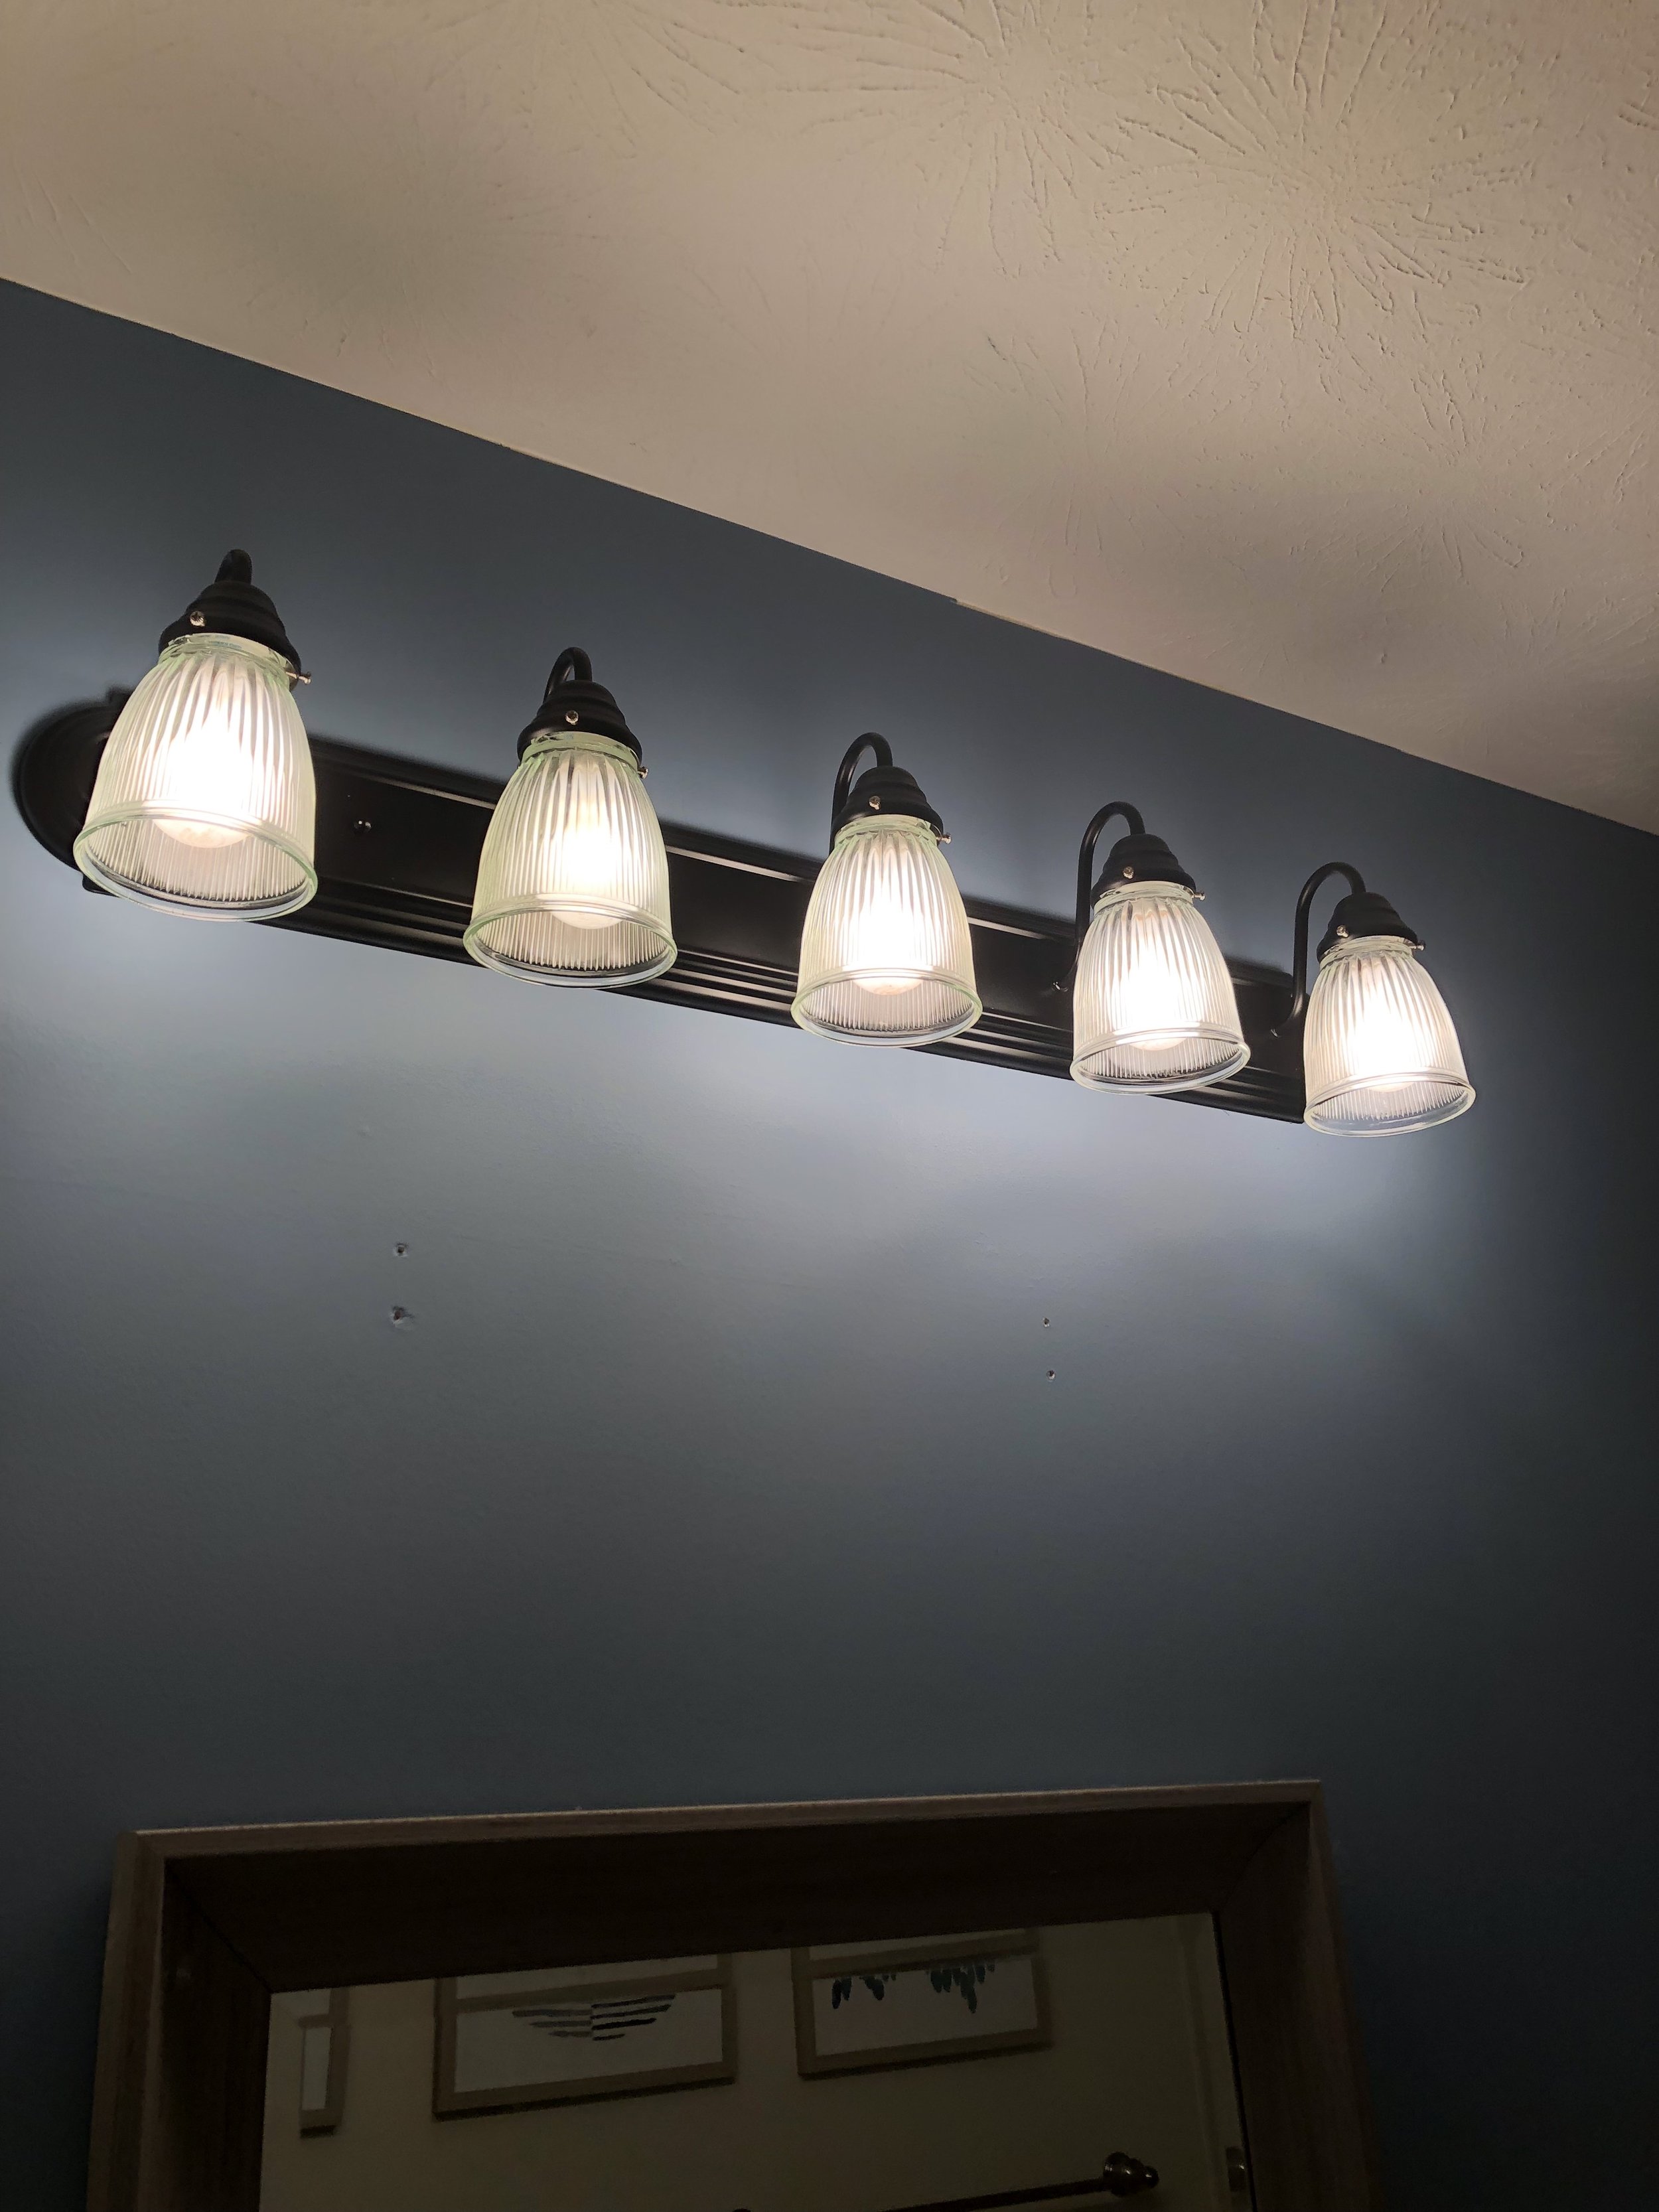
#5: Update your lighting (if possible)
If possible, I highly recommend updating the light fixtures. In our master bathroom I opted to replace the fixture altogether but in this refresh, to save some money, and because I didn’t invest anything in the original fixtures I opted to spray paint the fixtures and wow! I can’t recommend enough. I wanted the light fixture to match the rest of the hardware so I picked up a can of matte black spray paint and it worked wonders. It felt like a whole new fixture! I also changed the shade to be a bit more modern. I wasn’t a fan of the frosted and flared shade. These ones I got were only $5 a piece at Lowe’s. All in, giving my light fixture a refresh cost me about $40, which includes the spray paint, shades and new globe light bulbs. That’s about half or a quarter (or even more?!) of what I may have normally paid for a brand new fixture.


In addition to the pieces I’ve outlined above adding a layer of decor with the mirror, new shower curtain and new rings to match the matte black hardware, and some additional art pieces helped add a bit more coziness to the design.
Overall, I was thrilled with the results! It was great to feel like there was a good impact made on a low budget and with minimal time. So I hope this encourages you to tackle a project like this because it really is super easy!