Master Bathroom Refresh

I’m finally getting around to sharing some details around the refresh I did to our master bathroom. To preface, I moved in with Z about six months and it was a capital ‘B’ bachelor pad. Think brown, with brown accents and more brown. Nothing wrong with brown my friends but it was a little much for me and I needed some color and personality. I’m still ballin on a budget but I wanted to make a big impact in this small space. The biggest impact came through in the paint and wallpaper - as much as I HATE to paint you can’t deny how much it helps to brighten and freshen up the space.
So because we all love a good ‘how it started’ allow me to walk you through the process.

I always like to start each project with a rough rendering of the design intent. I love this process because it’s more like a canvas for me to play with colors, scales and different ideas before fully committing. It’s certainly not perfect in terms of level of detail and scale but this exercise helped me see what worked, and didn’t work, before making my final choices. I really loved the idea of doing a botanical print wallpaper and this was one of my options!


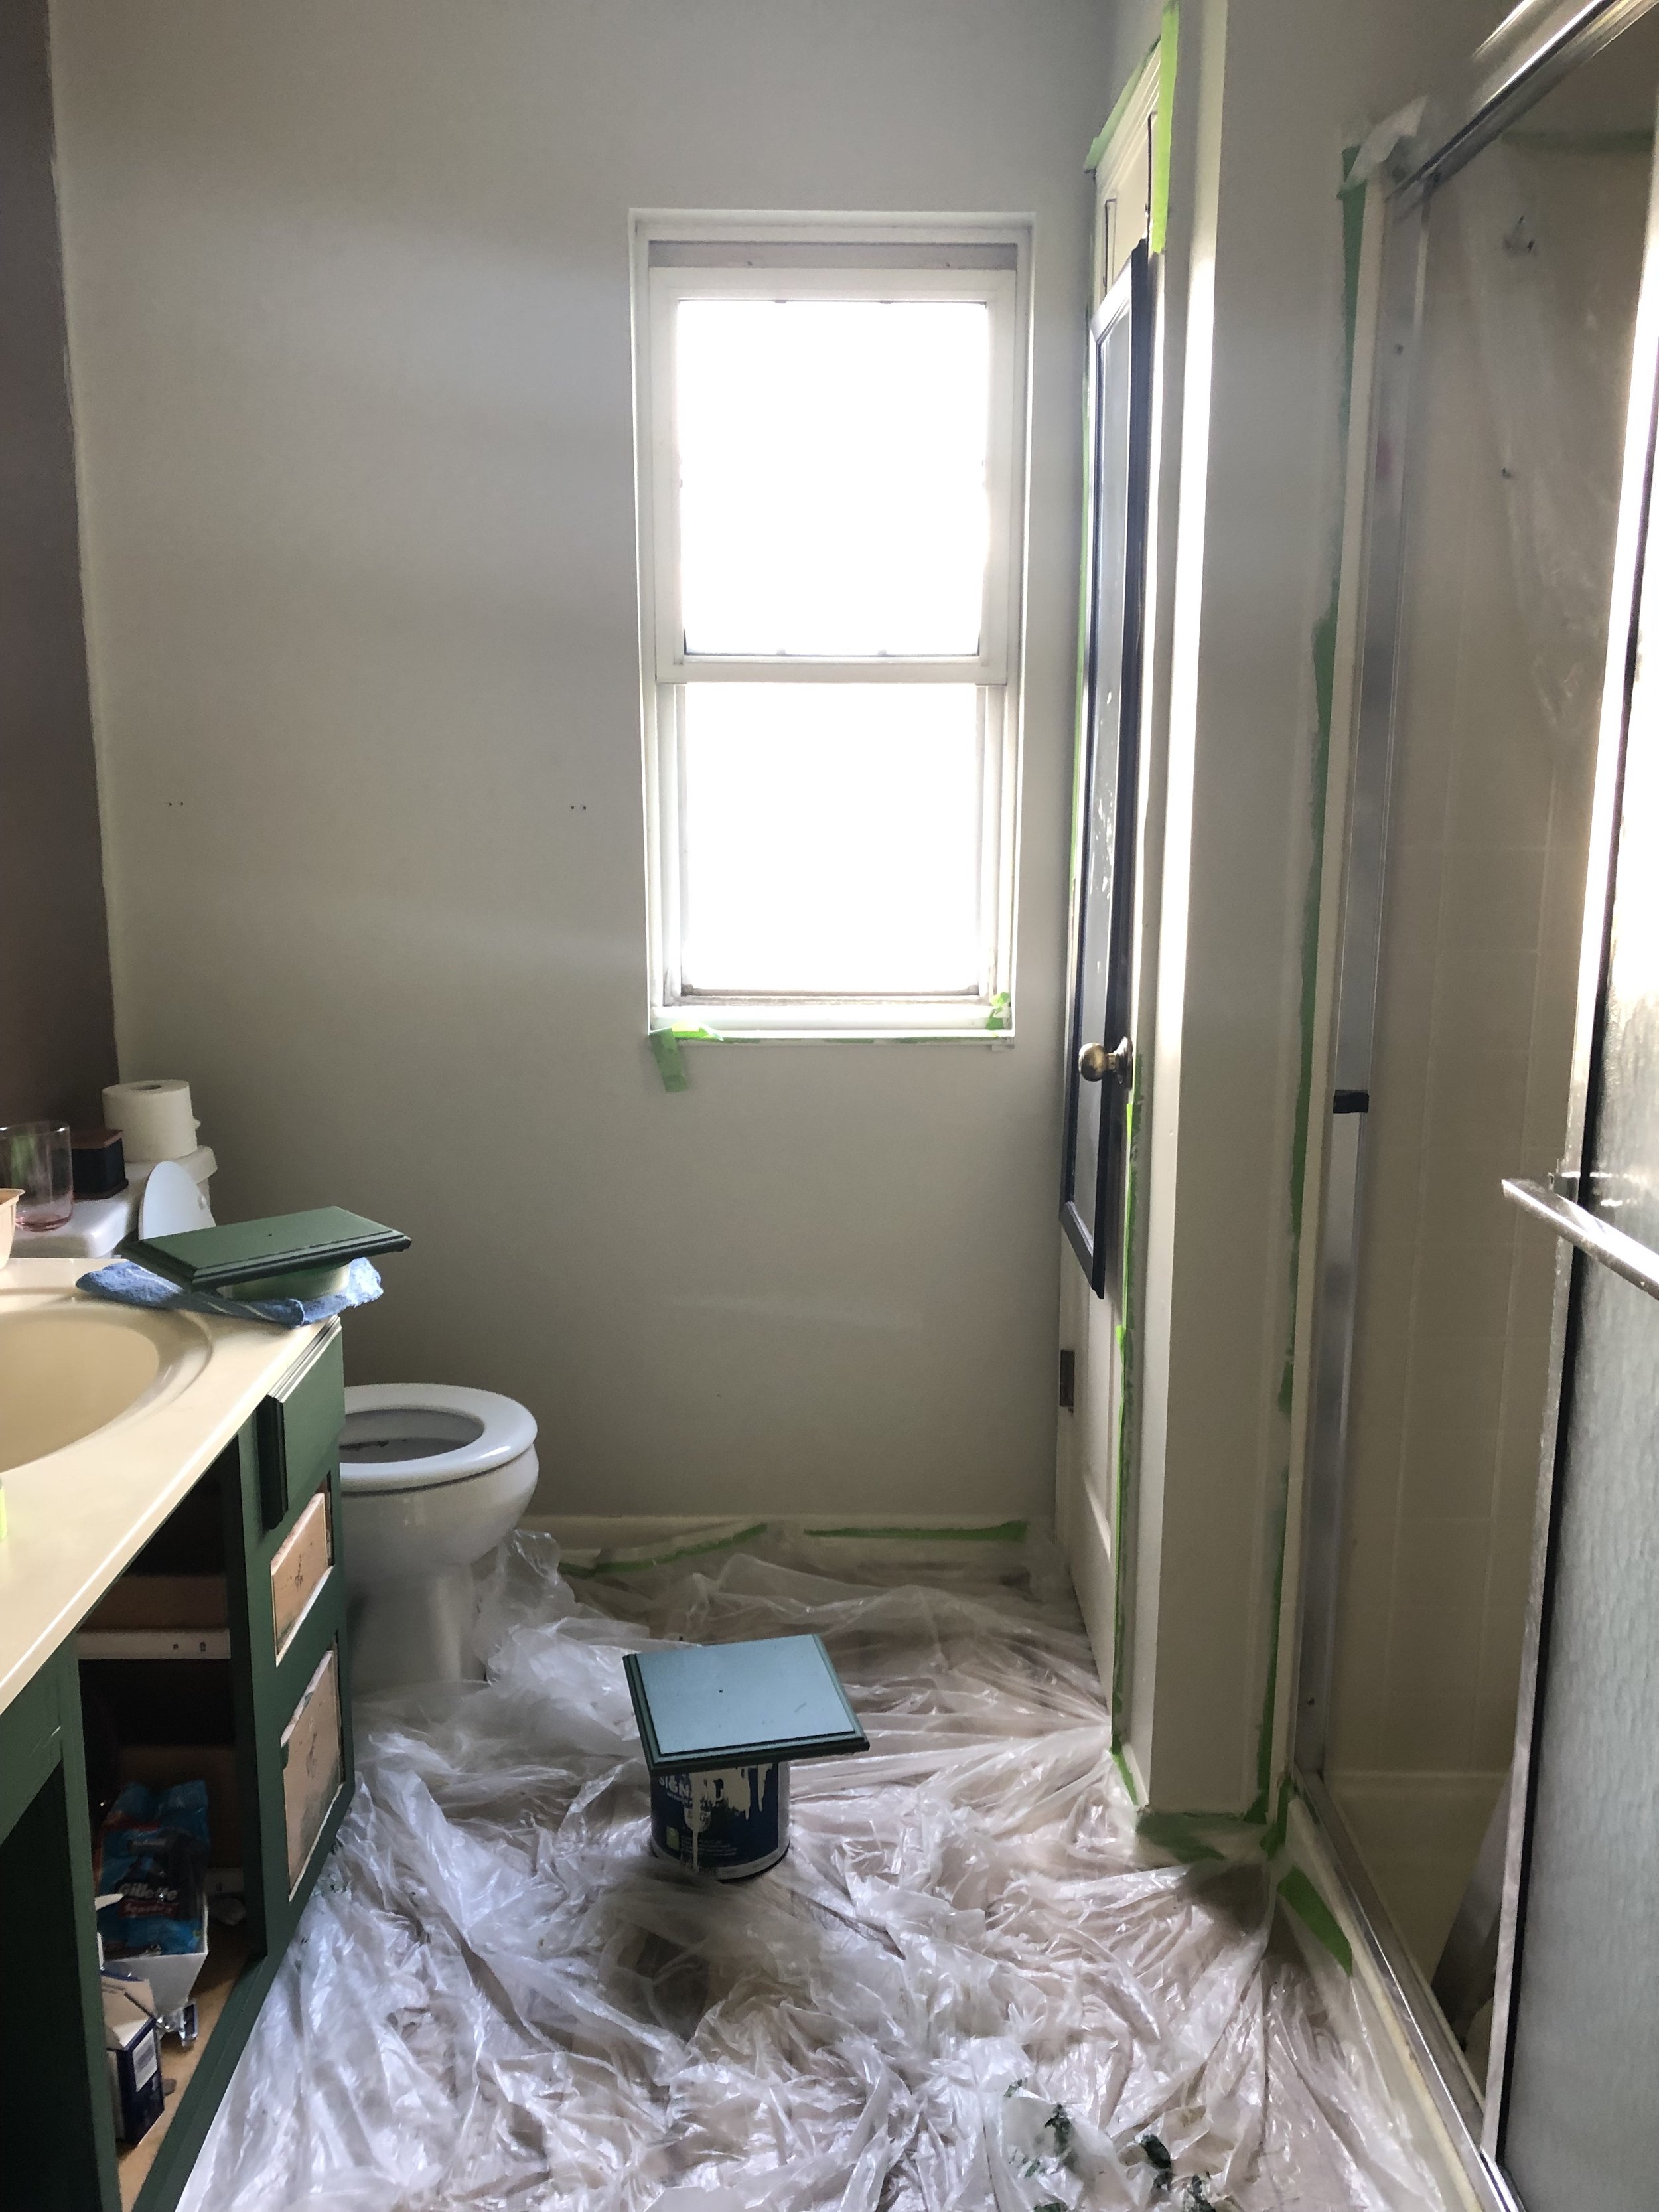
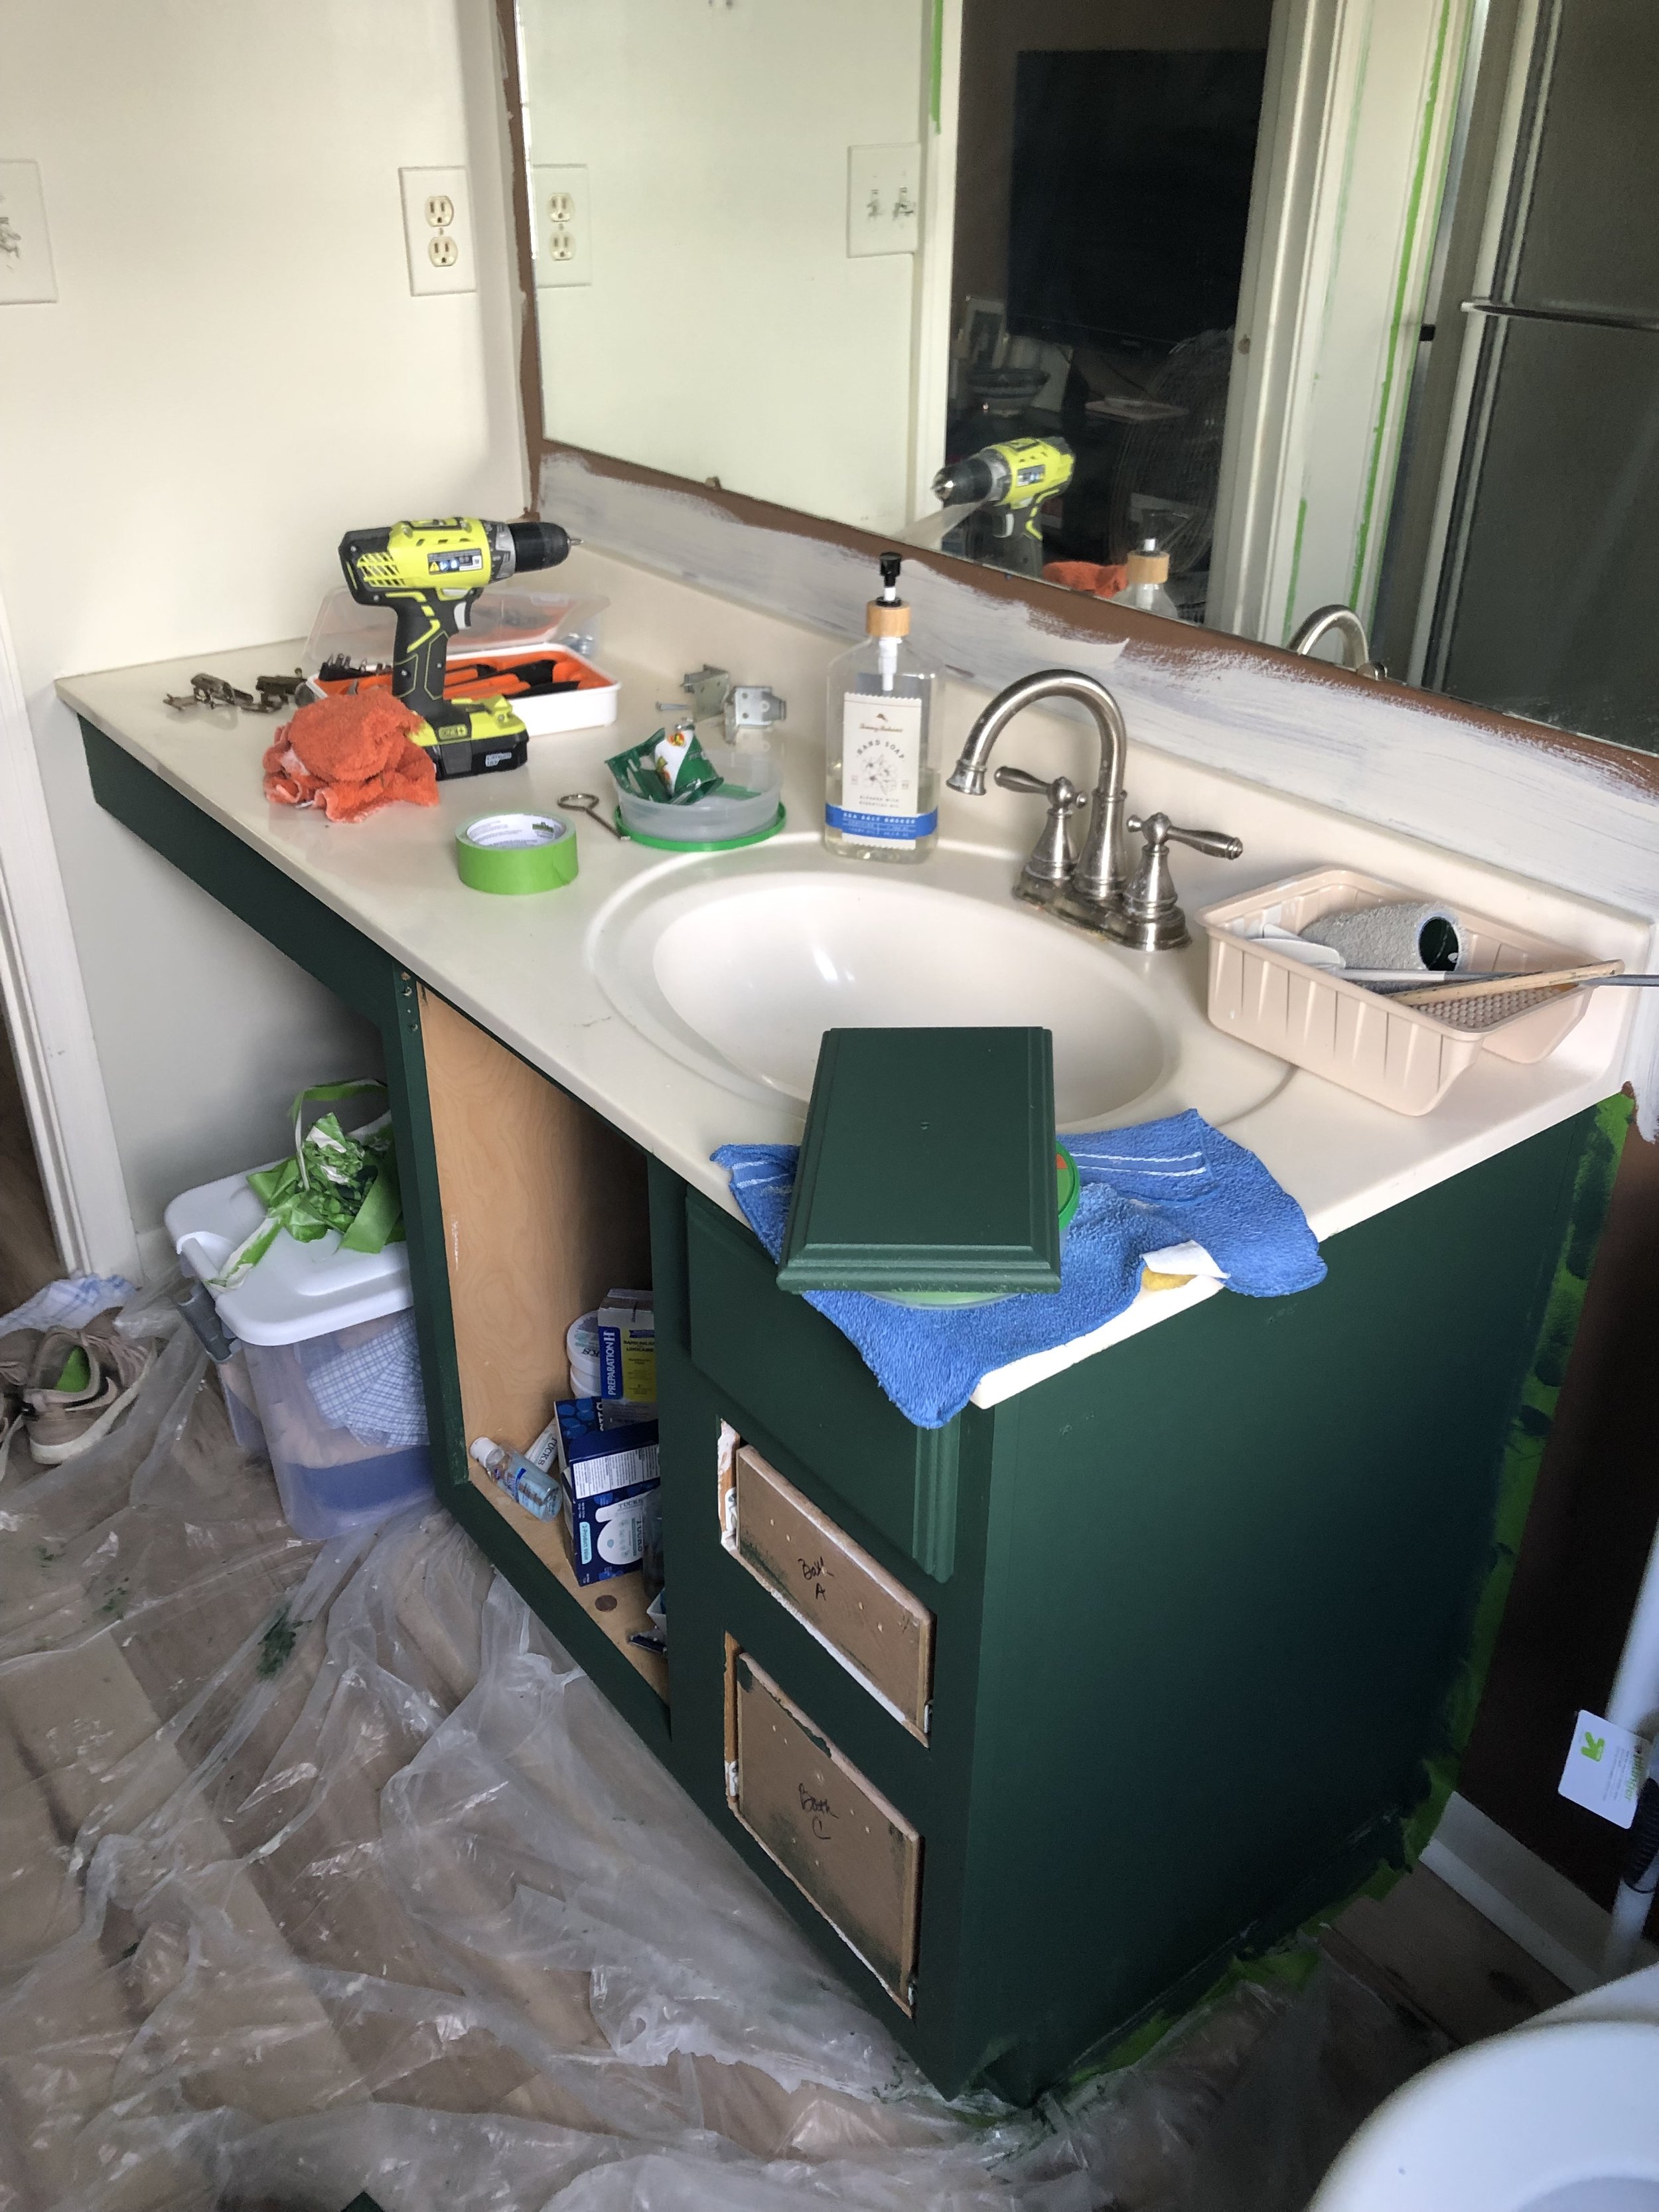
So yeah, as you can see we’re working with a lot of dark brown which made the space feel like a cave but, like, in a cute and cozy way. The hardware were pretty dated and in a little rough shape, leftover from the previous owner. Same with the light sconce, which I feel like I don’t even need to explain why. What makes for a great makeover is the loads of potential that the current space holds and this space was obviously teeming with potential.
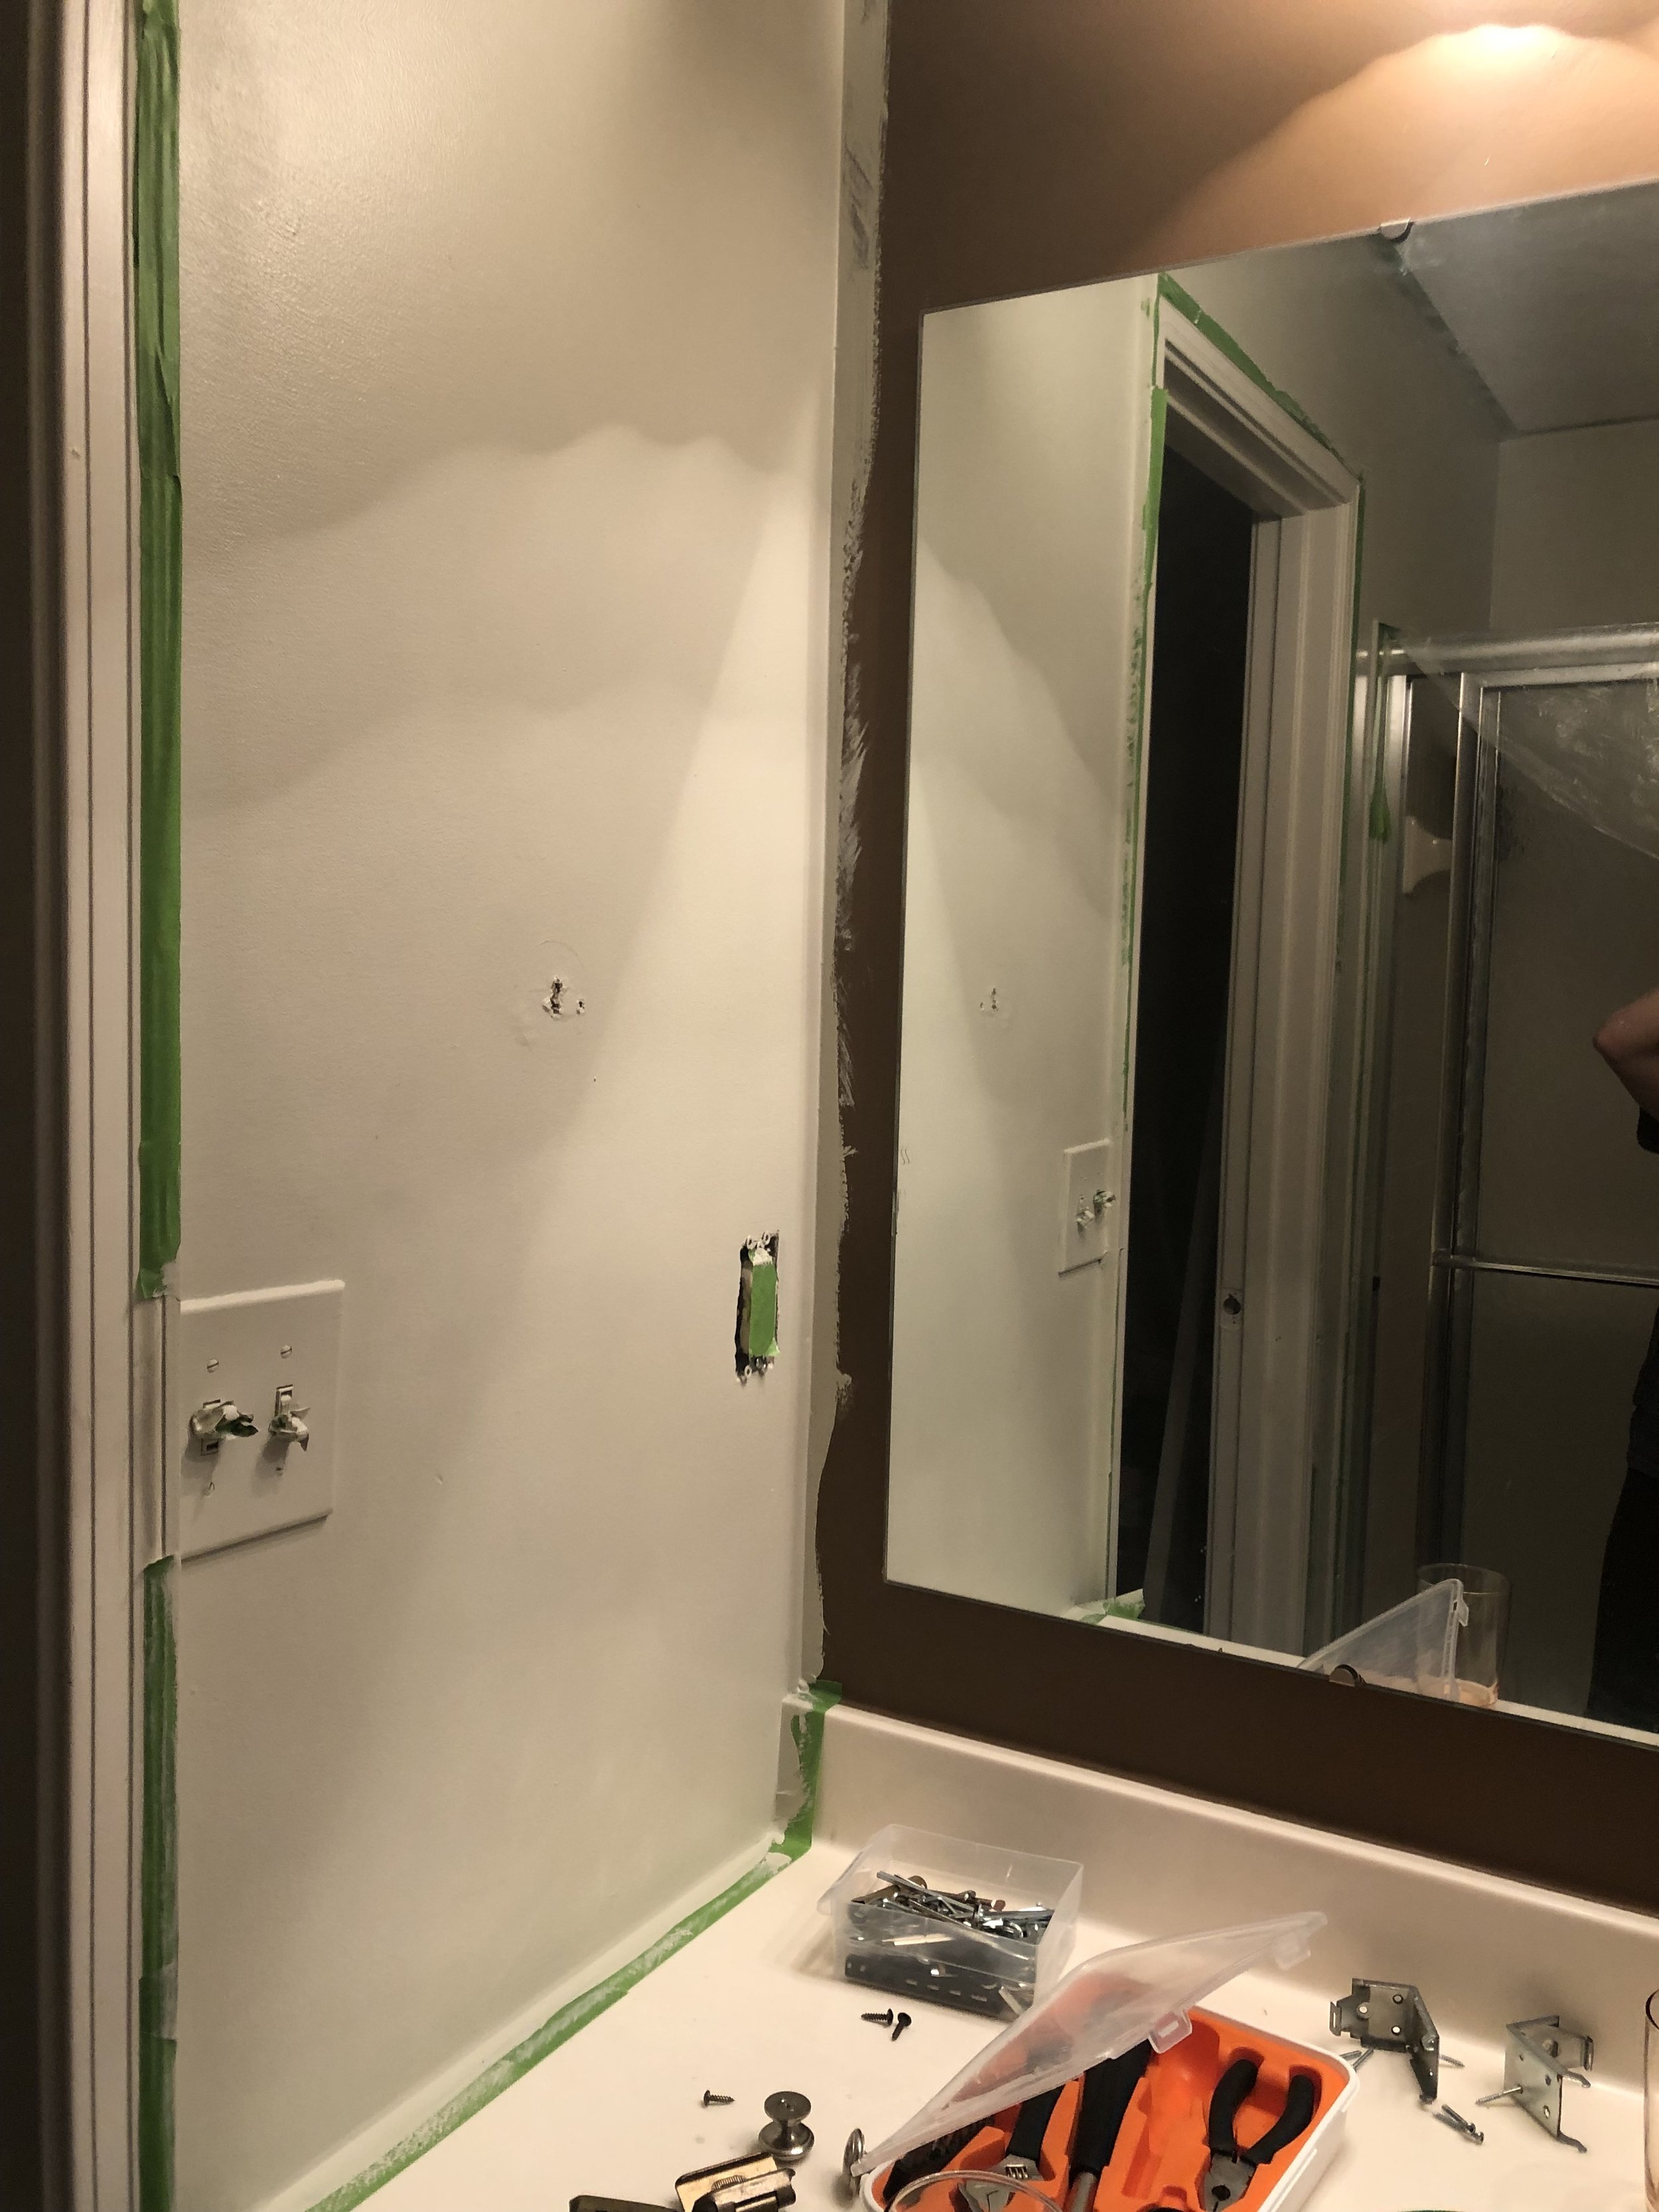
The first step I did was removing all of the wall hardware in preparation to paint the walls. All of the fixtures in this space, from the faucets, sconce down to the towel racks and old cabinet knobs was all donated to Habitat for Humanity Restore. We have a location nearest us and it felt good that someone else would be able to use this perfectly good (despite not being my taste) fixtures. I actually had someone buy a faucet from my supplies as I was bringing it in! Highly, highly recommend especially versus just throwing it away!
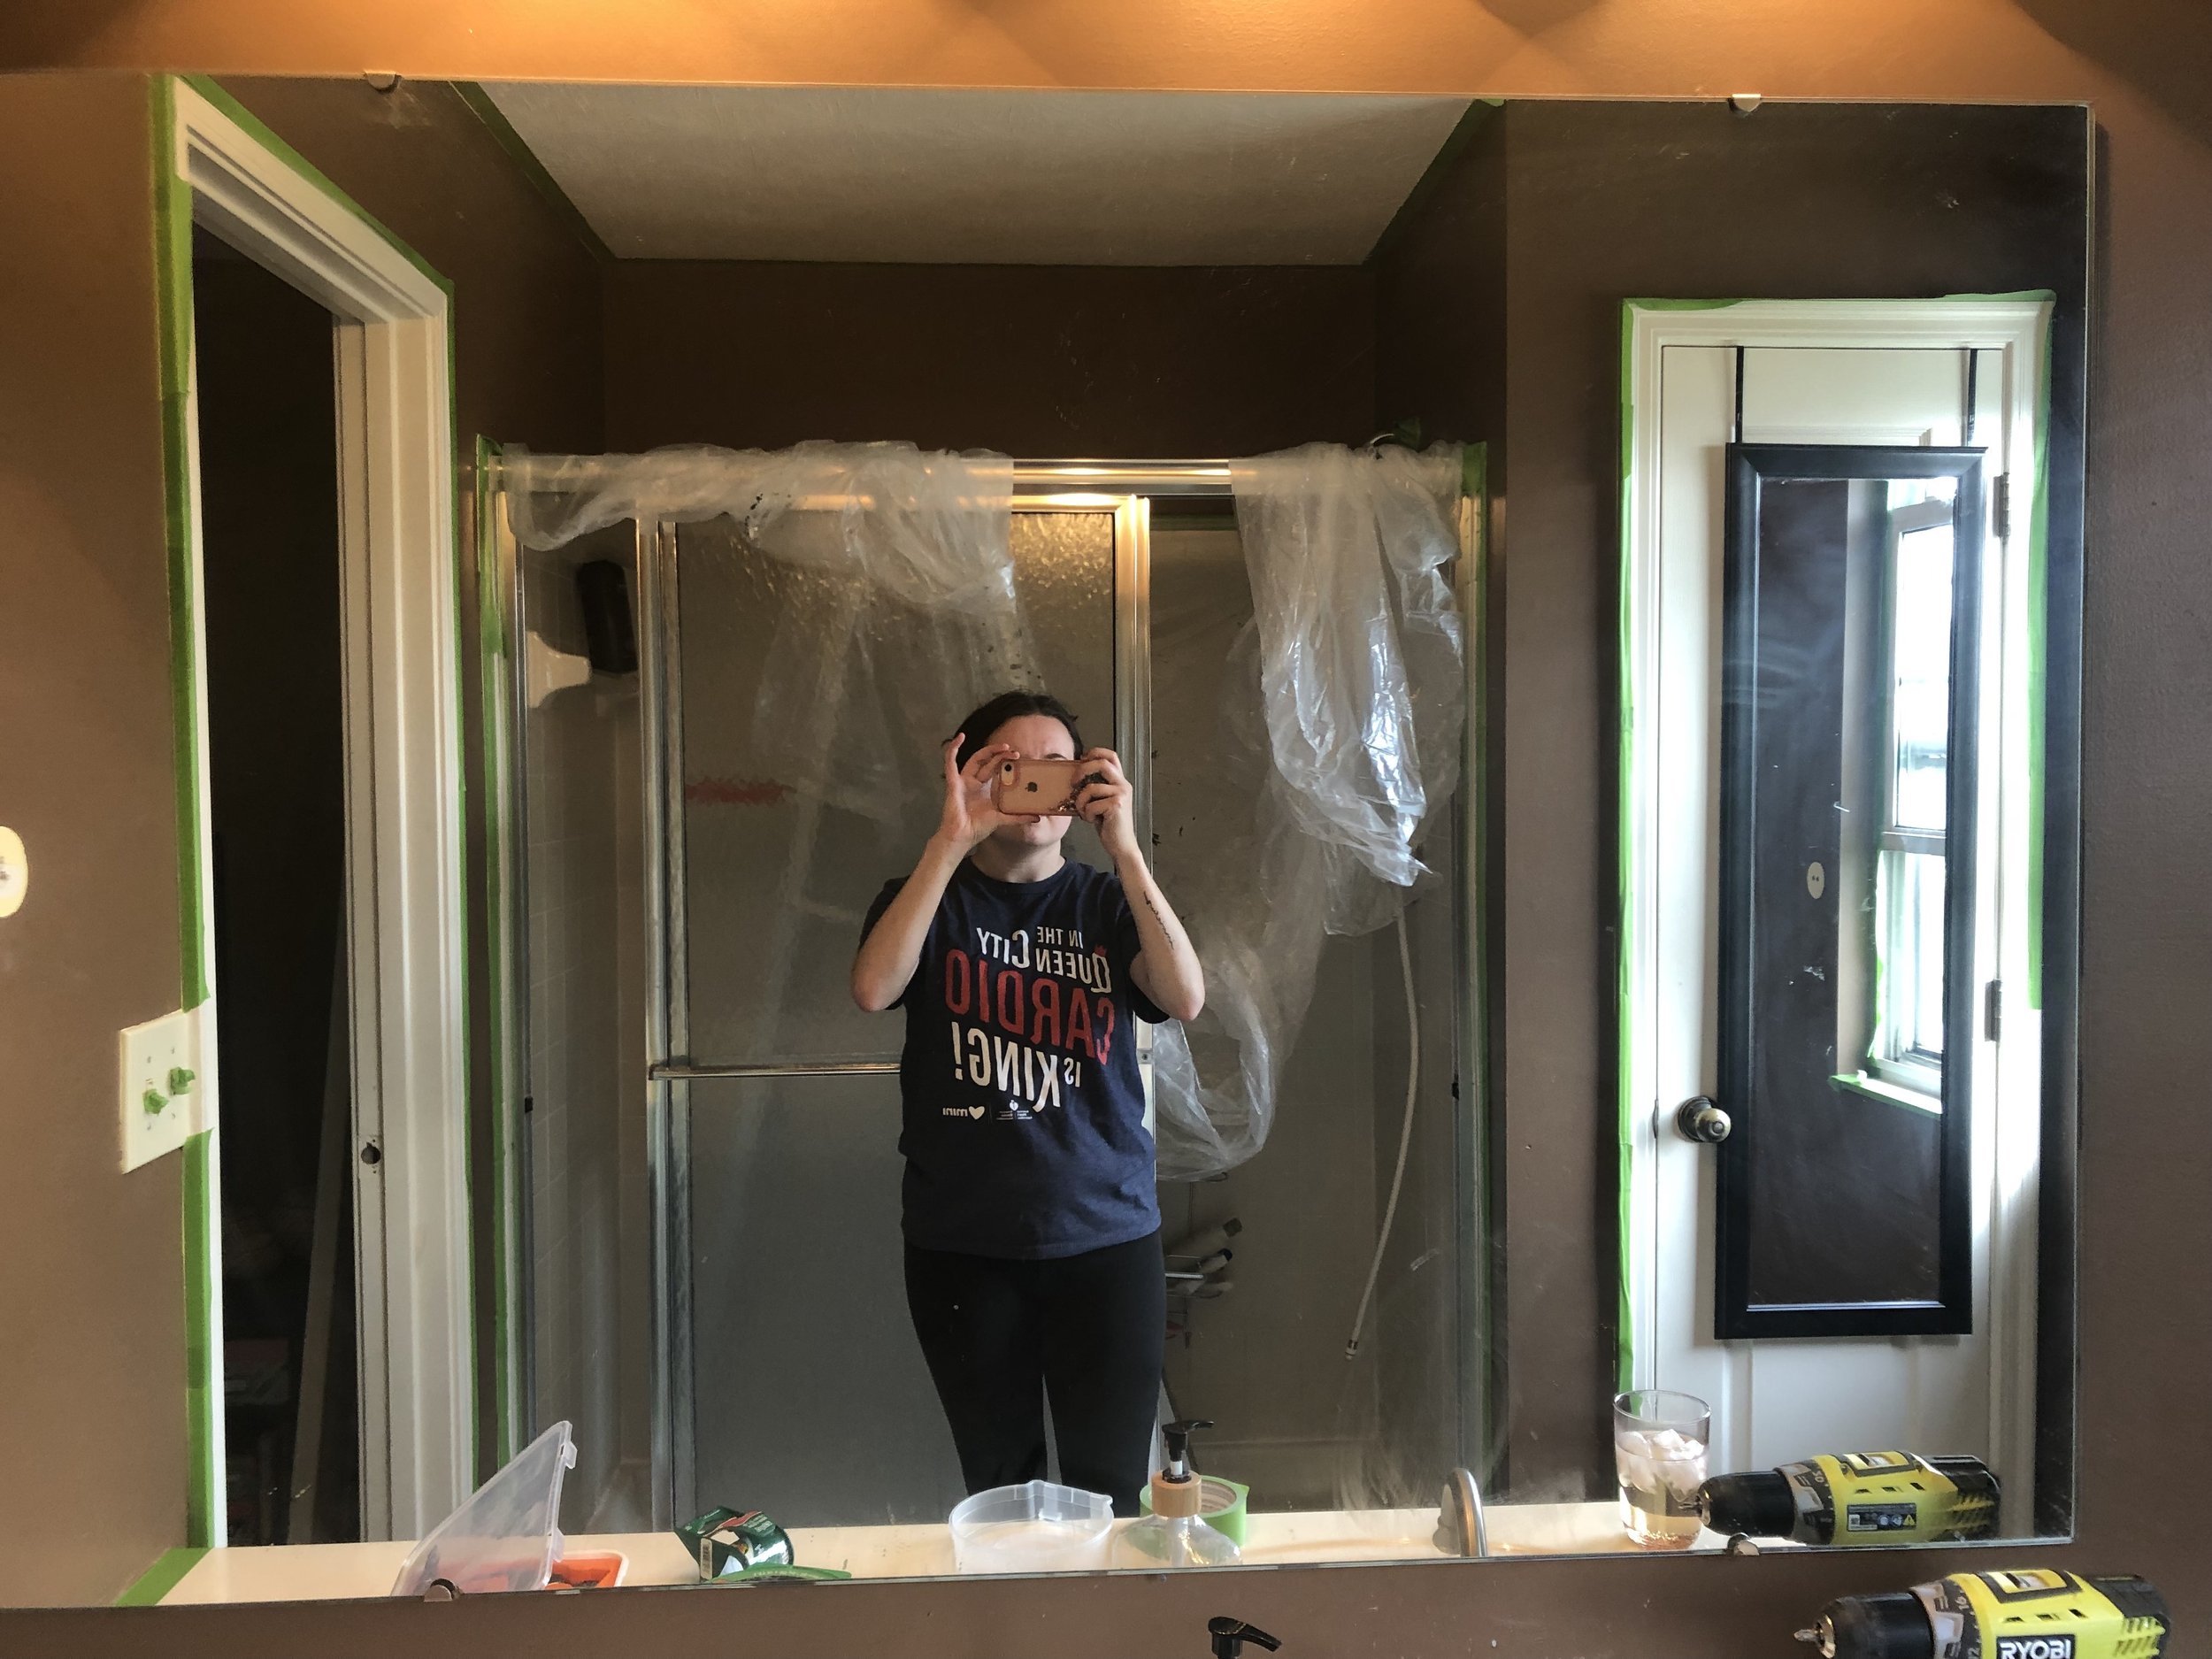
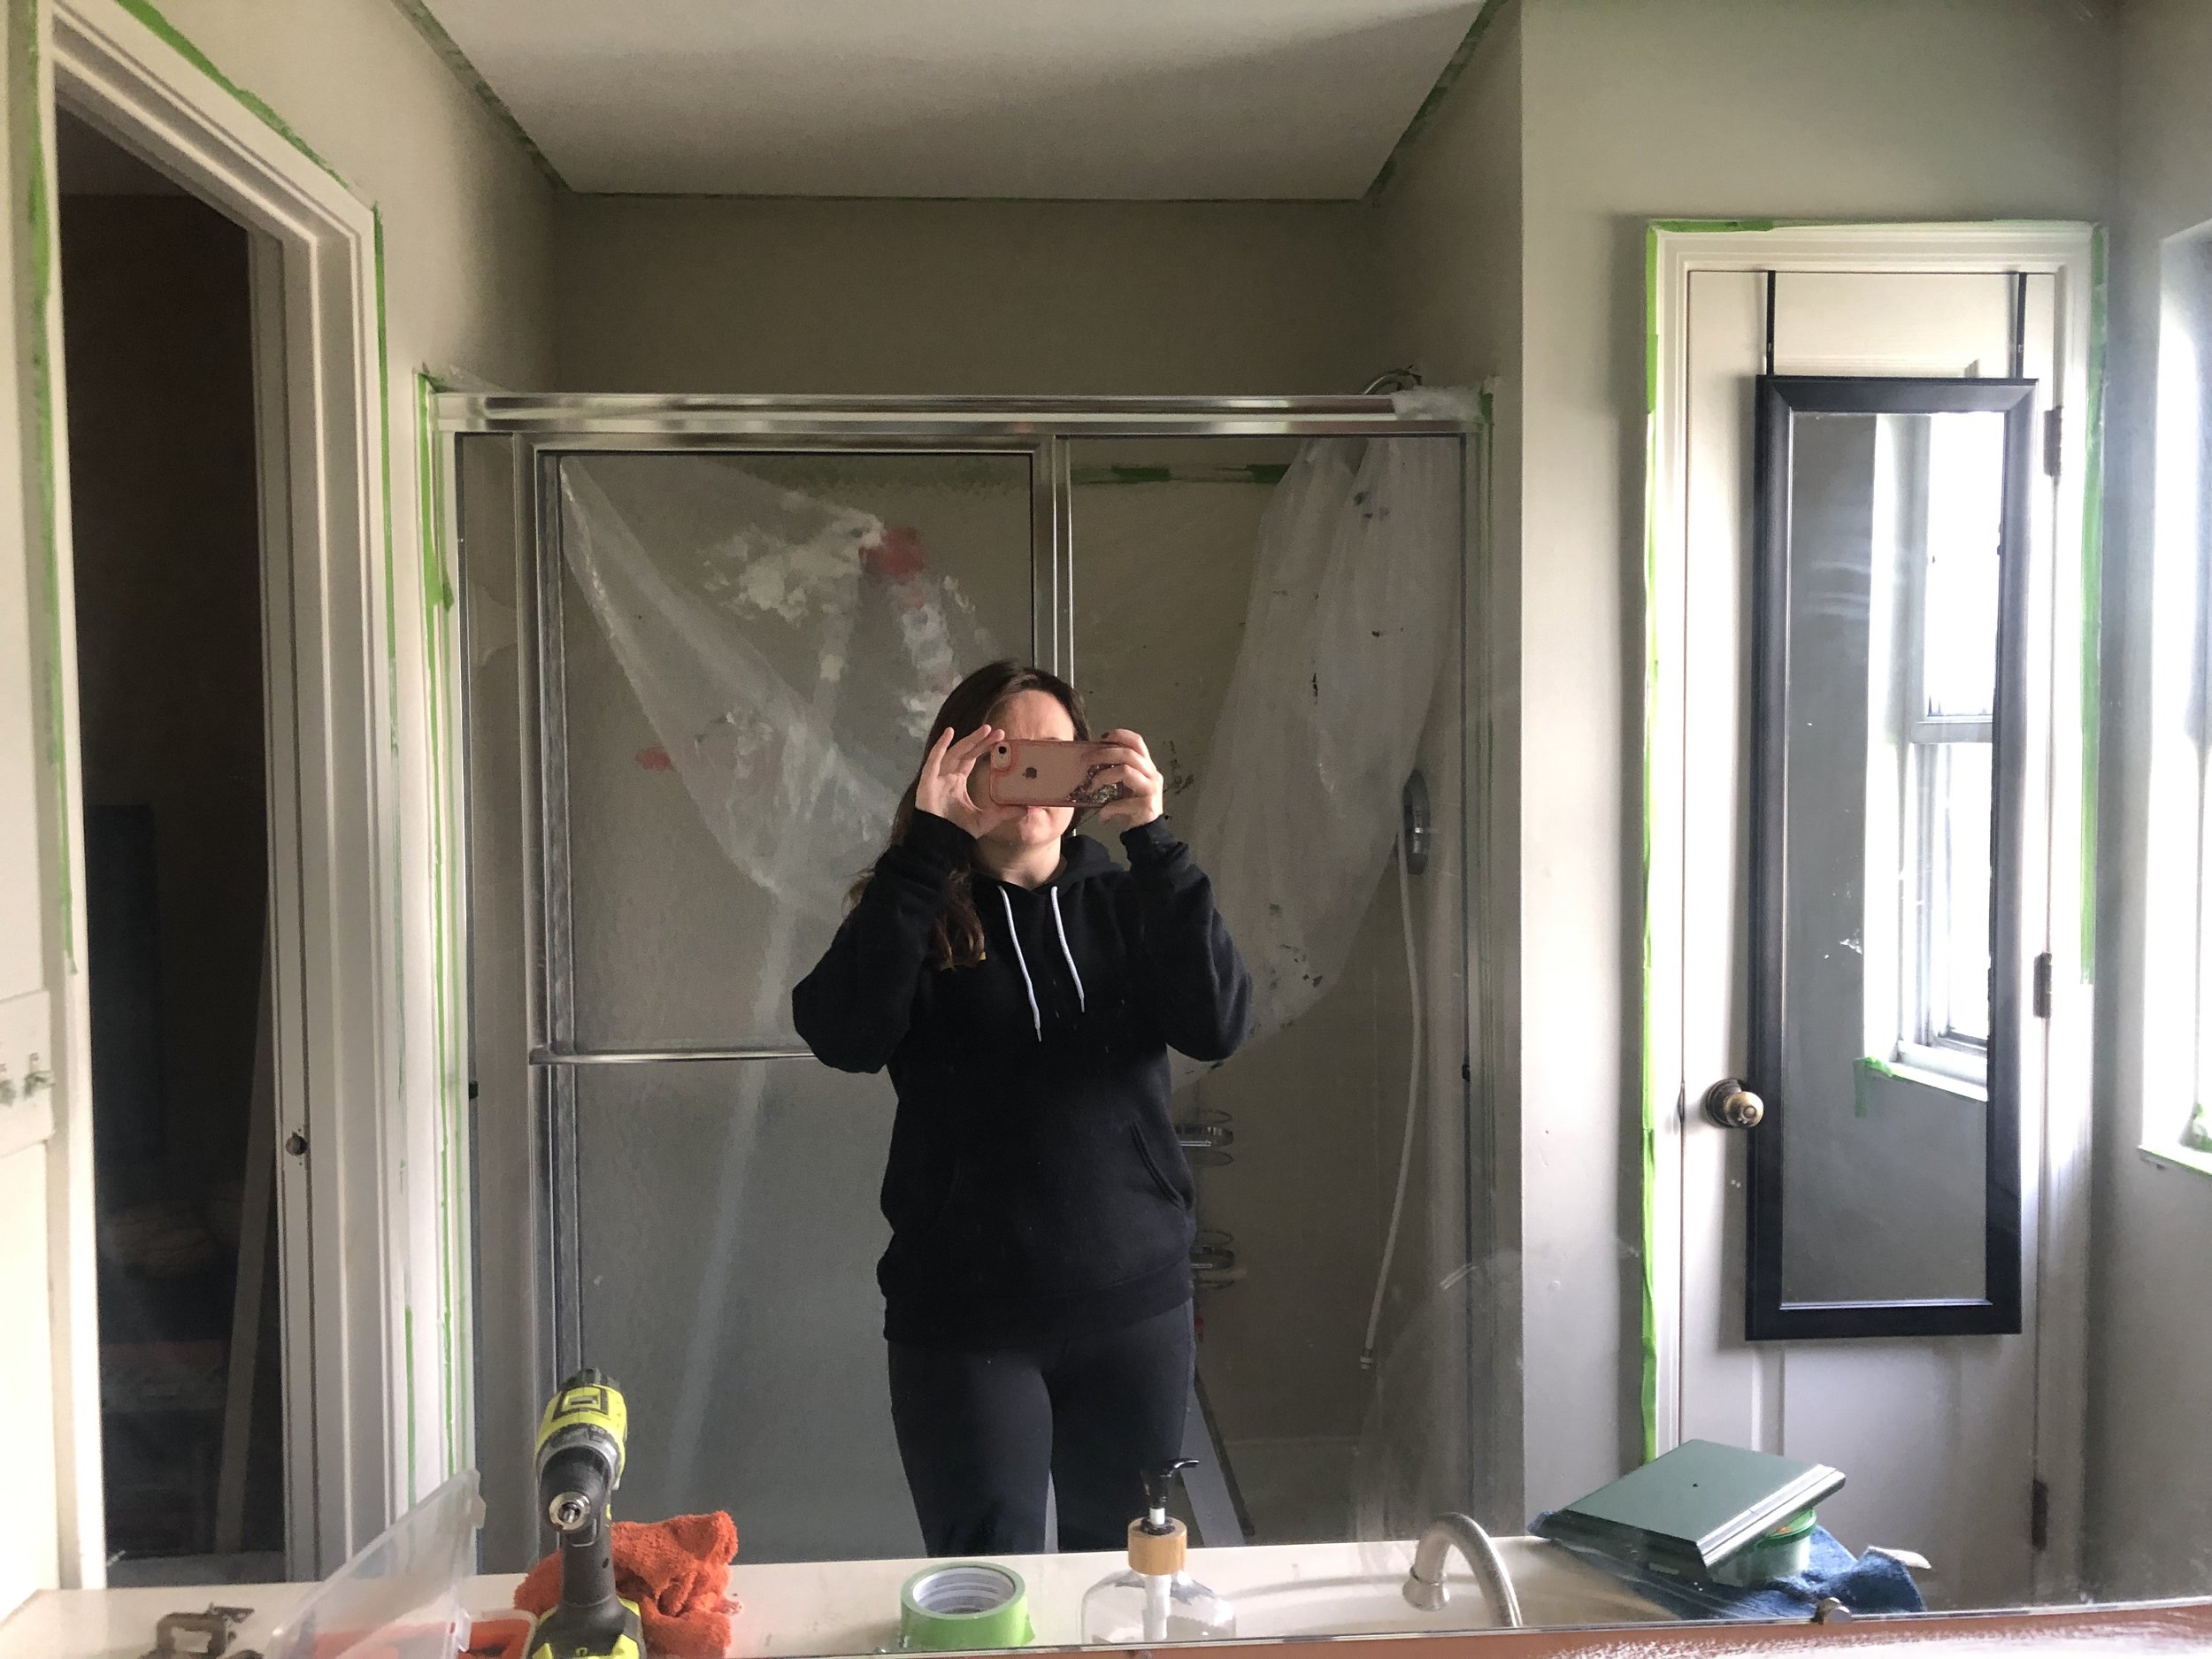
It took about 2 coats, plus touch-ups, to cover the brown paint and you could already notice a huge difference in just how the space feels overall. I absolutely HATE painting and this job was a little tedious given all of the elements like doors and trim and around the existing built in vanity but because it was a small space it went quickly enough. I also did not paint the wall behind the mirror since I was going to wallpaper it. If you have a light colored thinner wallpaper then I would consider taking that extra step. If it’s on the darker side then definitely no need to worry. I took my chances and didn’t paint and it all worked out.
After the walls were painted I started on painting the vanity. I had plenty leftover from my Ivar cabinet makeover to be able to paint over the vanity. Before it was a creamy, beige color with a distressed look as in they painted a distressed look over the cabinets. I struggle with that look on principle like, why would you paint something new to look old? Just buy antique or buy new! Okay, I digress, but it had a tendency to feel a little yellow-y and dirty so I wanted to freshen it up. What I should’ve done, but didn’t think about until after the fact, was sanding down the vanity to remove the finish which would allow the new coat of paint to adhere better. I find that it chips a little easier now. Don’t be like me! Don’t take shortcuts!
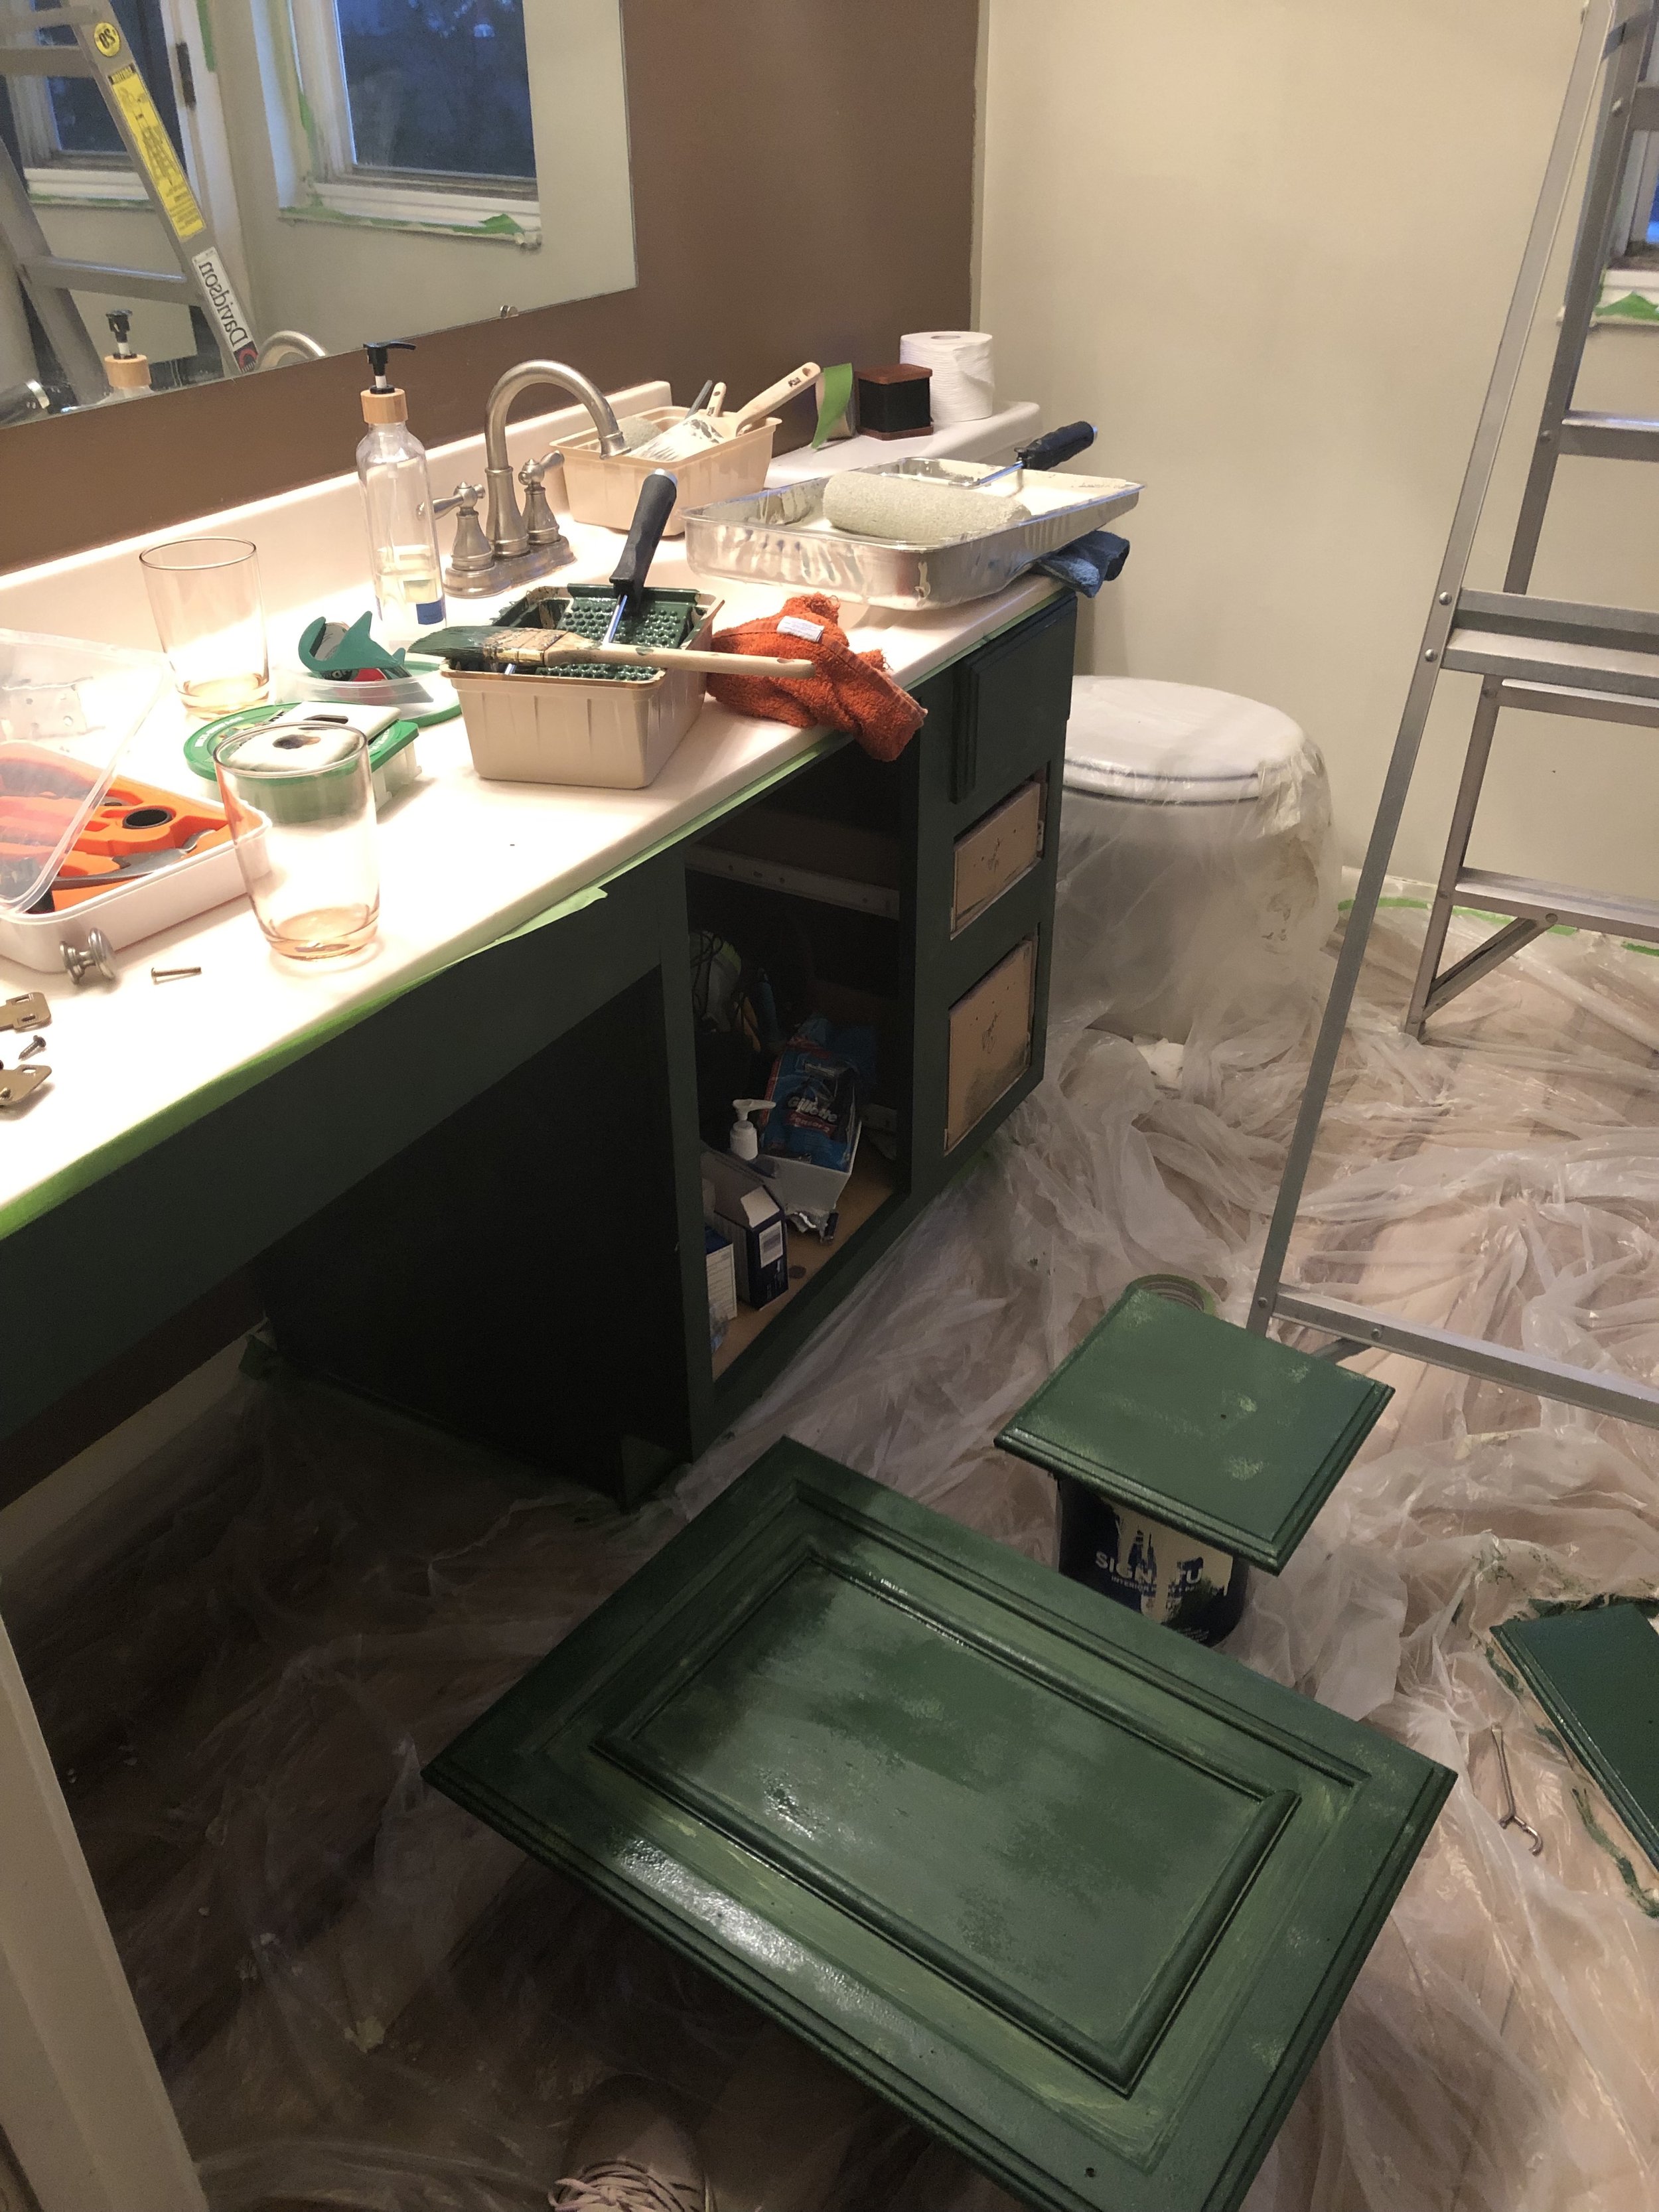
If you are ever on the fence about painting a cabinet a bolder color DON’T BE. OMG. NO REGRETS. It adds so much personality and character to the space! I used Behr Vine Green on the cabinet and it is definitely number one on my favorite paint colors at the moment. Can’t recommend enough, I would actually love to get color on the walls.


After the paint had some time to dry I started on wallpapering the back wall and installing the new hardware and sconce. These are the key areas that could require some extra assistance if needed, especially in the plumbing and electrical department. I managed them all on my own but I was extra careful. I opted for a peel and stick wallpaper because I love how easy it is to work with and you can peel back and re-stick if you need to adjust. I actually tend to like the busy patterns because it helps hide any misalignments if needed. The whole wall took 3 full rolls to do and I had almost no usable scraps at the end! Highly recommend ordering some overage, especially since patterns are often staggered and you need to line up the pattern. I ordered overage and still barely made it.
Installing a faucet is pretty straightforward and after a few instructional videos I got the hang of it and look ma! NO LEAKS! I can’t even fully express how much JOY came from switching out the faucet. It’s affordable and totally doable for most people and makes a world of difference. This is a great options for renters (with the appropriate permissions) and made the bathroom feel instantly more chic.
The sconce was also pretty easy to change out. Because I was not moving the light fixture or adding a new one or any structural work with junction boxes and all that, all of which should be done by a certified electrician, I opted to do this fixture switch myself. There are three main wires, a black, white and ground wire and I just essentially undid them on the old fixture and redid with the new fixture. I did have an electrician look over my work after I completed and he said I did a good job so hey! I’ll take it! Like the faucet, it had an immediate WOW impact. I think a lot of people are scared off by switching fixtures but if you can you should! Another joy sparker!


Let me tell you that I am absolutely obsessed with the outcome! Everyday feels like I’m getting ready in a really chic boutique hotel and gets me one step closer to turning this former bachelor pad into a very cute little home for us. The addition of the plants and curtains on both the window and shower add a lot of softness to the design.
Master bath refresh product links:
Curtain rod and hooks
Arched mirrors were an incredible score from Home Goods, here are similar
Similar brass hardware kit, includes towel rack, hooks and toilet paper holder
Wood shelves are handmade, here are similar
wall paint is Valspar Villa Gray
cabinet paint is Behr Green Vine
Various artwork and decor contain some vintage and thrifted items :)

So what do you think? I’d love to hear your thoughts in the comments below!